Installing SharePoint Foundation 2010 with Remote BLOB support in SQL 2008 R2
 Sam McGeown
 Configuring WSS or SharePoint Services for a small client is a pretty effective way of getting a document management solution for a reasonable cost point. One of the limitations that caused headaches was that it used to have a maximum storage of 4GB, which was the database limit. If you wanted to go larger, you would need either a) multiple SPS installations, b) a full version of SQL server, or c) the full version of MOSS. None of those solutions are particularly cost effective, and for a small company cost is king.
SharePoint Foundation 2010 introduces a new 10GB limit with SQL Server Express 2008 R2 for database sizes, and something called “Remote BLOB” storage, which limits you only to your storage. Traditionally, BLOBs (Binary Large OBjects) have been stored in the Database file itself with the structured data. Put simply Remote BLOB stores the file data in a folder rather than the database. This makes a lot of sense to me as the largely simple, unstructured file data does not really require the structured data environment of the database.
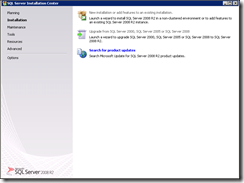
Installing SQL Express 2008 R2
For some reason best known to themselves, Microsoft didn’t include the option to install SQL Express 2008 R2 with the SharePoint Foundation installer, presumably the want to keep the installer size down to a minimum. So the first port of call is to download the SQL Express installer from the Microsoft SQL Express download site. Installing is very straight-forward, so I won’t go into much detail. Once downloaded, run the installer and click through the install, I created a user account for SQL and SharePoint services to run under.
Provisioning the FILESTREAM provider
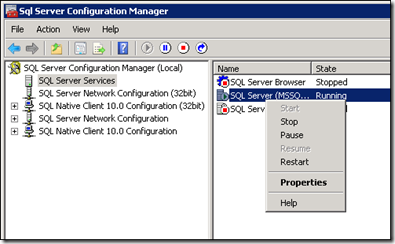
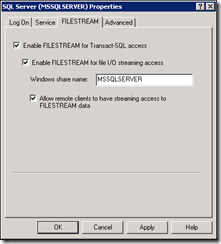
Once installed, we can move on to enabling the FILESTREAM provider. Open the SQL Server Configuration Manager and select the SQL Server Services node. Select the SQL instance you just installed, right click and select “Properties”. Select the FILESTREAM tab and tick all 3 boxes to enable:
Next open SQL Server Management Studio and open a new query window. Run the following query to enable FILESTREAM:
EXEC sp_configure filestream_access_level, 2
RECONFIGURE
At this point, we move on to installing SPF 2010.
Installing SharePoint Foundation 2010
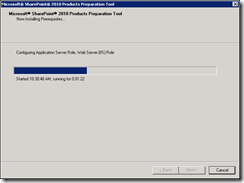
Run the installer and click “Install software prerequisites” – check you’re happy with the listed updates, roles and features and then click next.

The go for a coffee, or two…
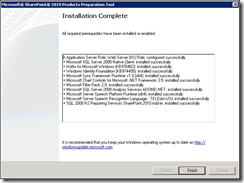
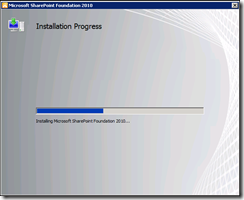
This unfortunately requires a restart before we can continue, which is a shame! Once the server has bounced, re-run the installer and click “Install SharePoint Foundation”. At this point I had an issue with the installer telling me “A system restart from a previous installation or update is pending. Restart your computer and run setup to continue.” Restarting did not resolve this issue, I had to modify the registry keys mentioned on this technet blog.
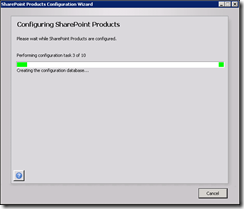
Once I’d done that, I was able to run the installer, choose the location for the search index data and watch the blue bar:
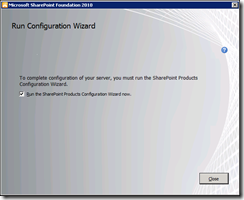
Run the SharePoint Products Configuration Wizard and create a new farm

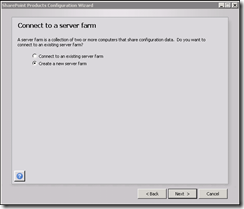
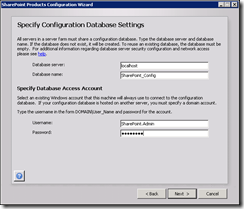
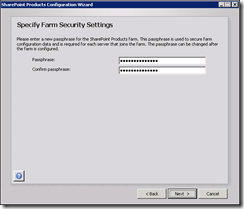
Enter the database details and create a pass phrase for joining the SPF 2010 farm
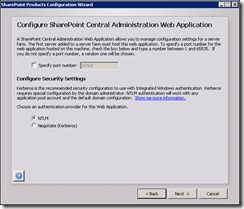
Configure the SharePoint Central Administration Web Application (defaults are fine)
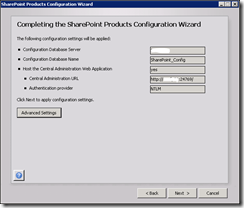
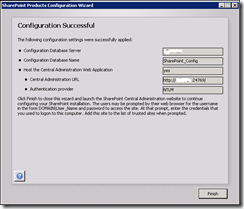
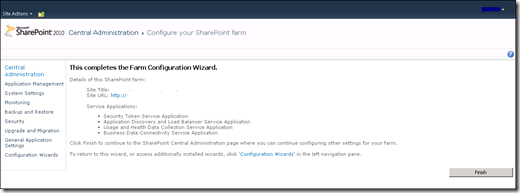
After a bit of crunching you should see the “Configuration Successful” page.
Configuring the SharePoint Farm
Once finished the Central Administration web page should open and offer you the chance to configure the farm, either through a wizard or manually – I’m going to go through the wizard. I’m not going to document the wizard on here because it’s pretty straightforward. You do need to create a Site and Content Database in order to enable the BLOB Store.
Provision a BLOB Store with the FILESTREAM provider
Return to SQL Server Management Studio and select the database for the Site you’ve just created and want to enable BLOB storage for and open a new query window. In my case, this is WSS_Content (and will be for you used the wizard to create your first site). Run the following queries against the content DB:
use [ContentDbName]
if not exists (select * from sys.symmetric_keys where name = N'##MS_DatabaseMasterKey##')create master key encryption by password = N'Admin Key Password !2#4'
use [ContentDbName]
if not exists (select groupname from sysfilegroups where groupname=N'RBSFilestreamProvider')alter database [ContentDbName] add filegroup RBSFilestreamProvider contains filestream
use [ContentDbName]
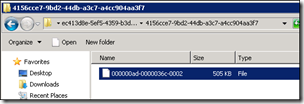
alter database [ContentDbName] add file (name = RBSFilestreamFile, filename = 'c:\Blobstore') to filegroup RBSFilestreamProviderInstalling RBS on the SharePoint Foundation Server
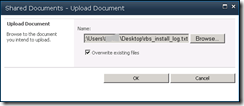
After a lot of head scratching I finally found mention that BEFORE you install RBS, make sure you enable NAMED PIPES for this instance of SQL Server or the RBS won’t install correctly. Head over to the SQL Server 2008 Feature Pack site and download the RBS package for your server type, which comes down as RBS.msi. Run a command prompt as an administrator and then install the MSI using the following command, changing DBNAME, DBINSTANCE to your environment (DBINSTANCE for me was the default instance on the server, so the server name was required):
msiexec /qn /lvx* rbs_install_log.txt /i RBS.msi TRUSTSERVERCERTIFICATE=true FILEGROUP=PRIMARY DBNAME="WSS_Content" DBINSTANCE="<server name>" FILESTREAMFILEGROUP=RBSFilestreamProvider FILESTREAMSTORENAME=FilestreamProvider_1 You won’t get any output from that command, but after a minute or so you should be able to check the log file that there is a line containing “Product: SQL Server 2008 R2 Remote Blob Store — Installation completed successfully.” You should also be able to see several new “mssqlrbs*” tables in your content database.
Enable and test RBS
Open the SharePoint 2010 Management Shell on server and enter the following commands to test and enable RBS:
$cdb = Get-SPContentDatabase -WebApplication http://SiteName[No output]
$rbss = $cdb.RemoteBlobStorageSettings[No output]
$rbss.Installed()Should respond with “True”
$rbss.Enable()[No output]
$rbss.SetActiveProviderName($rbss.GetProviderNames()[0])[No output]
$rbss | flEnabled : True
ActiveProviderName : FilestreamProvider_1
MinimumBlobStorageSize : 0
UpgradedPersistedProperties : {}
As a final test, browse to our SharePoint site and upload a file >100k to the default document library. You can then check the size of the file you uploaded to the files in the BLOB storage folder you created and check they match (they won’t be called the same thing!).
Storing your files as BLOBs in Remote storage has it’s detractors, and I’m not going to get into that now – this article was to show how to do it if you have read around and require to do so. I hope it helps!
Links
- Install and configure RBS with the FILESTREAM provider (SharePoint Foundation 2010)
- Download Microsoft SharePoint Foundation 2010
- SharePoint Foundation 2010… A simple install
- Common SharePoint 2010 Installation Problems
- SQL Server 2008 R2 Feature Pack