
For several months now we have seen glimpses of vROps by way of limited blog posts and the HOL demo’s so it was great to see it finally released.
So what is it like out of the box?
The first clear change is the move away from 2 VMs in a vAPP and consolidation down to 1 VM which is then easily scalable to more as you require.
The UI has been completely reworked and the install process has also completely changed, so lets take a look.
Deploying from the ovf is very straight forward (you no longer need to worry about IP Pools either!)
Once you have deployed the OVF start up the VM and wait for it to complete its boot process then navigate to the IP you gave vROps to begin the deployment/configuration. As you can/will see below a lot of time has been invested to simplifying the configuration process.

Get started!
I Opted to do a new a new installation upon which I was then presented with a 5 step process to deploy vROps
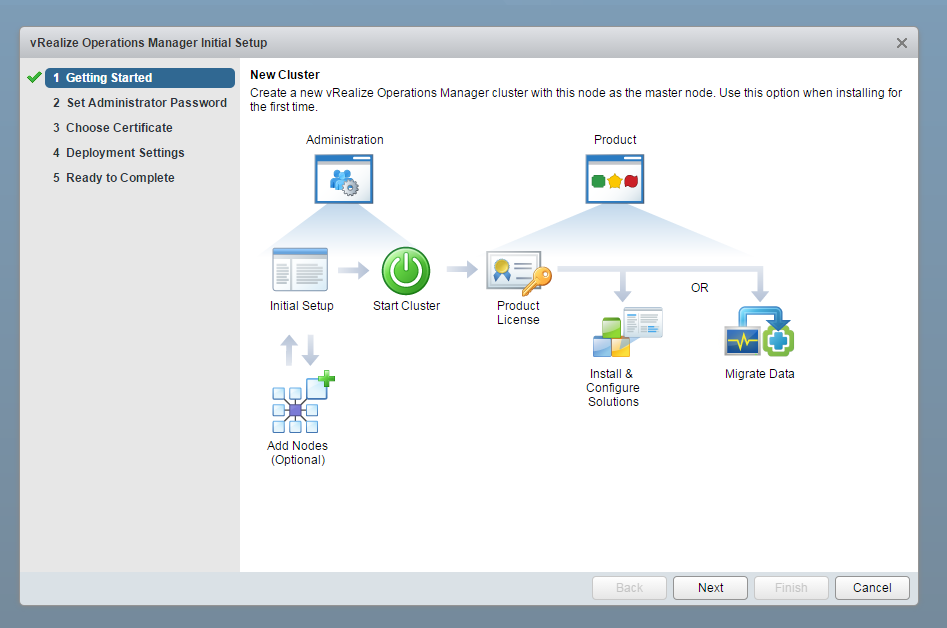
Step 1
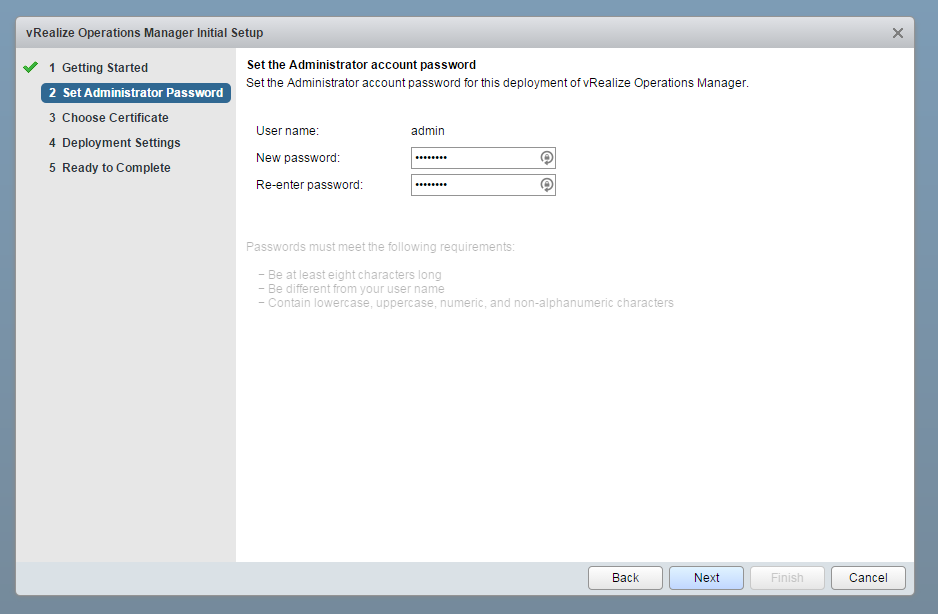
Step 2 - good to see strong passwords are enforced
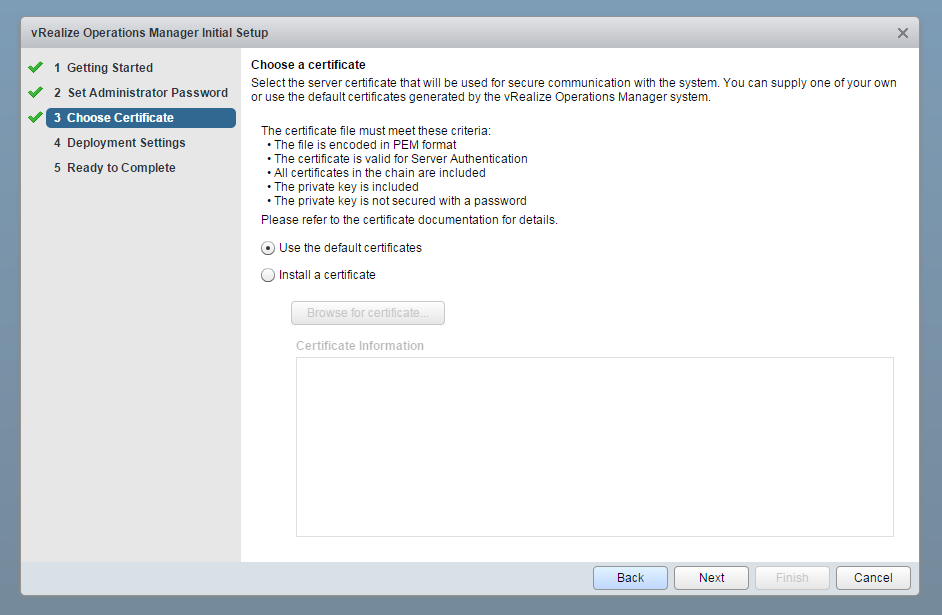
Step 3 - you can use the default or import your own cert
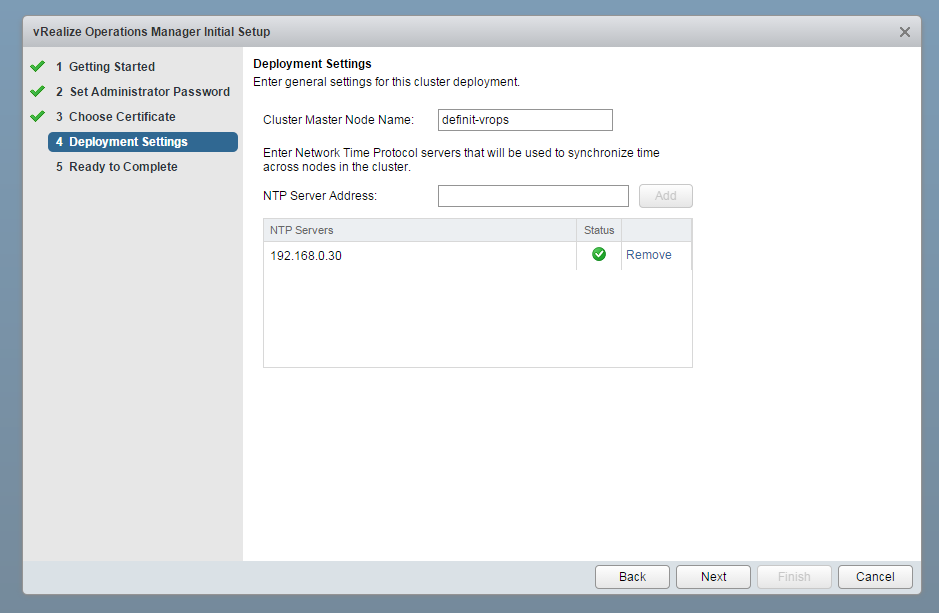
Step 4 - you can use your own or an external source.
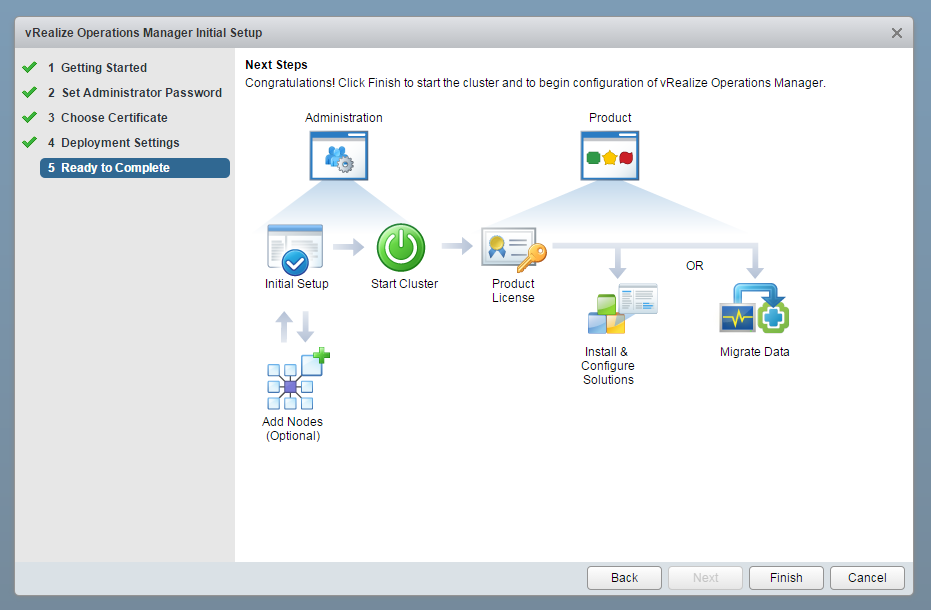
Step 5
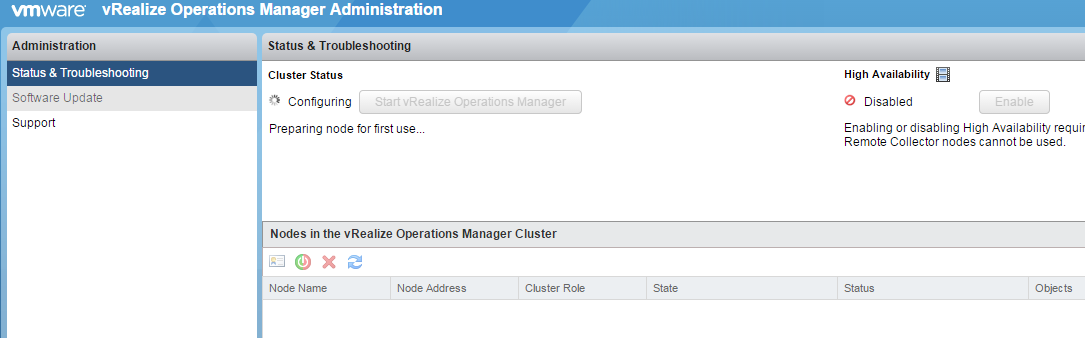
Step 6 - wait while it is "configuring"
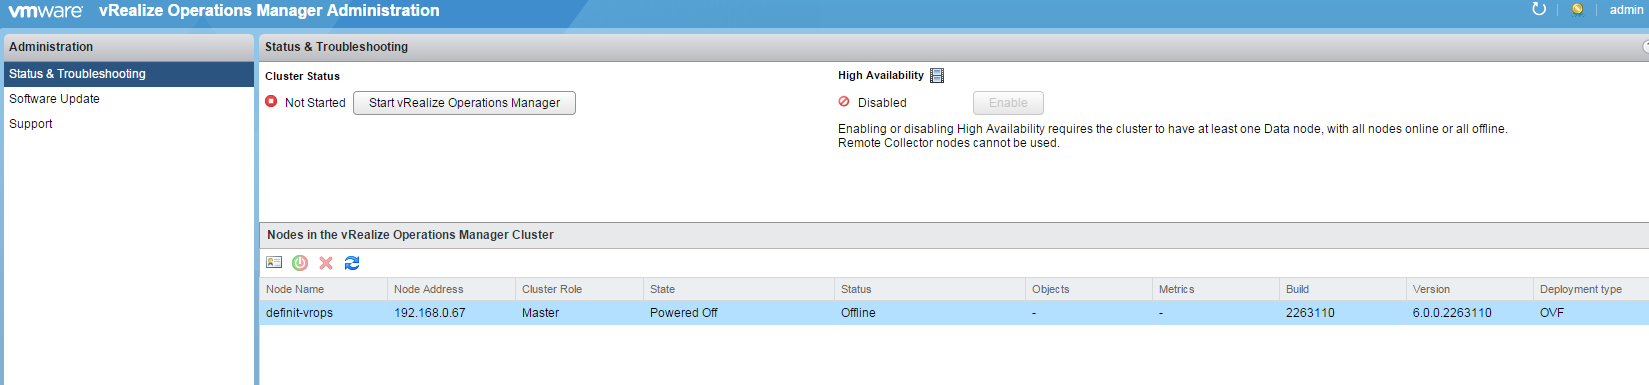
Step 7 - Click Start!
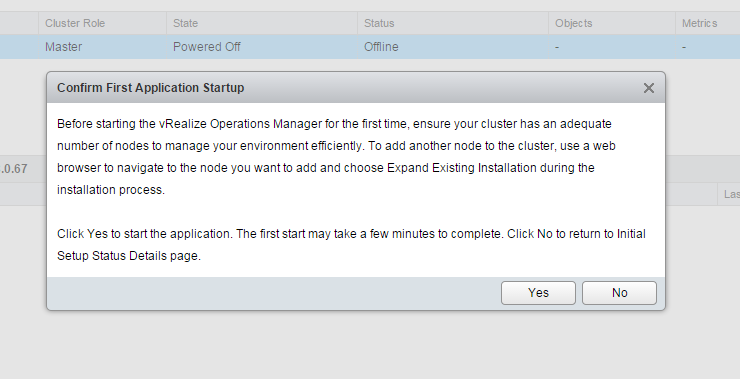
Step 8 - first time start up notification

Step 9 - going online!
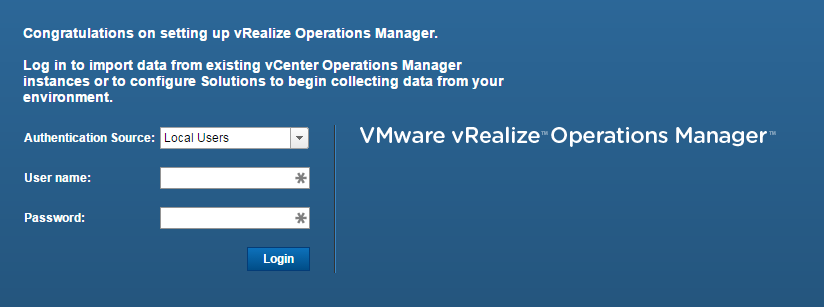
Step 10 - time to log back in
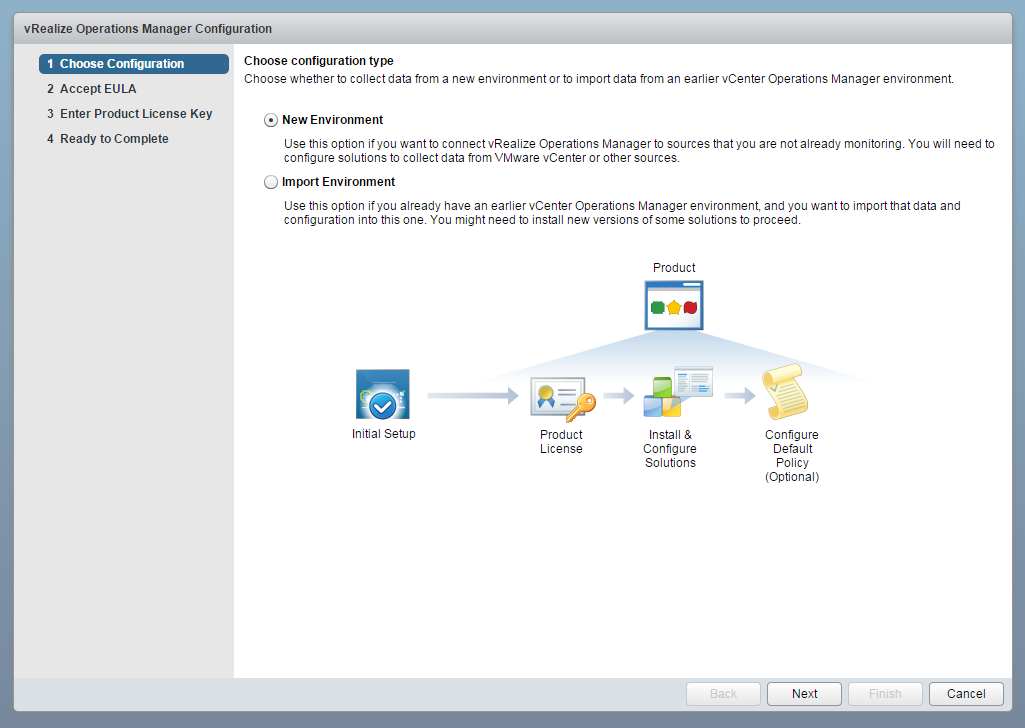
Step 11 - choose your path
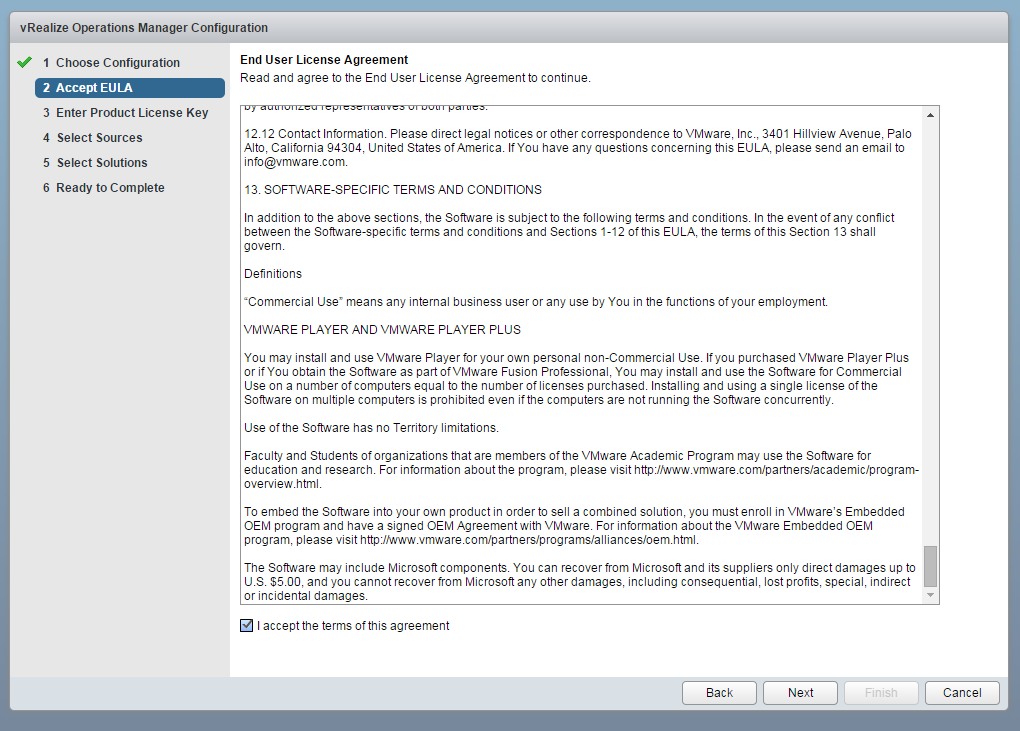
Step 12 - Read and accept the EULA!
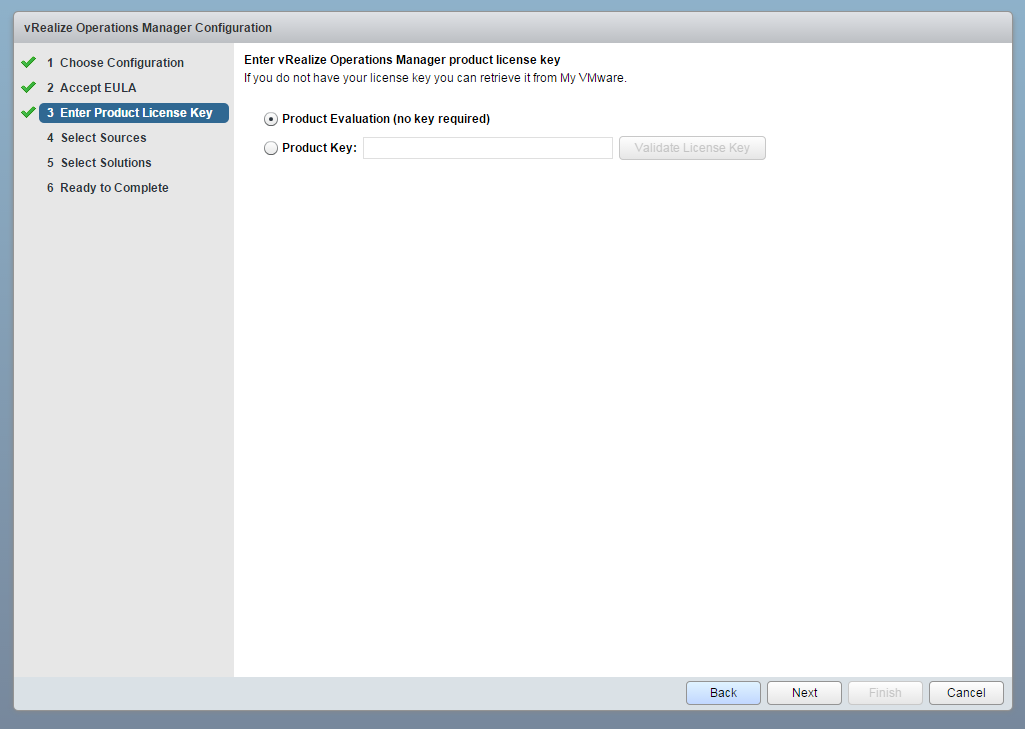
Step 13 - add your Product key
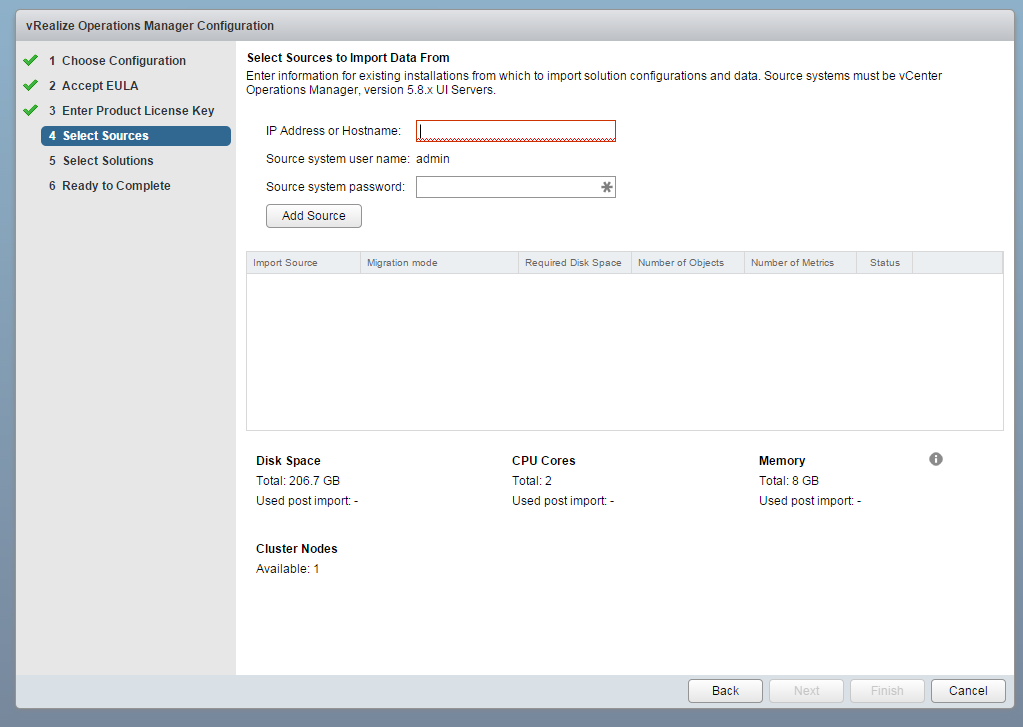
Step 14 - Choose your import source from existing vCOPs deployment
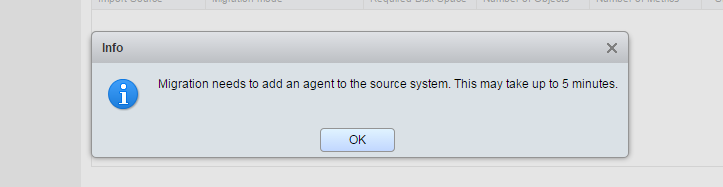
Step 15 - warning on migration duration
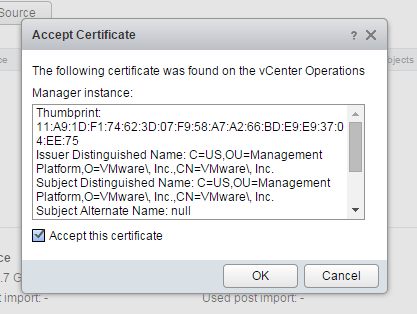
Step 16 - accept the certificate
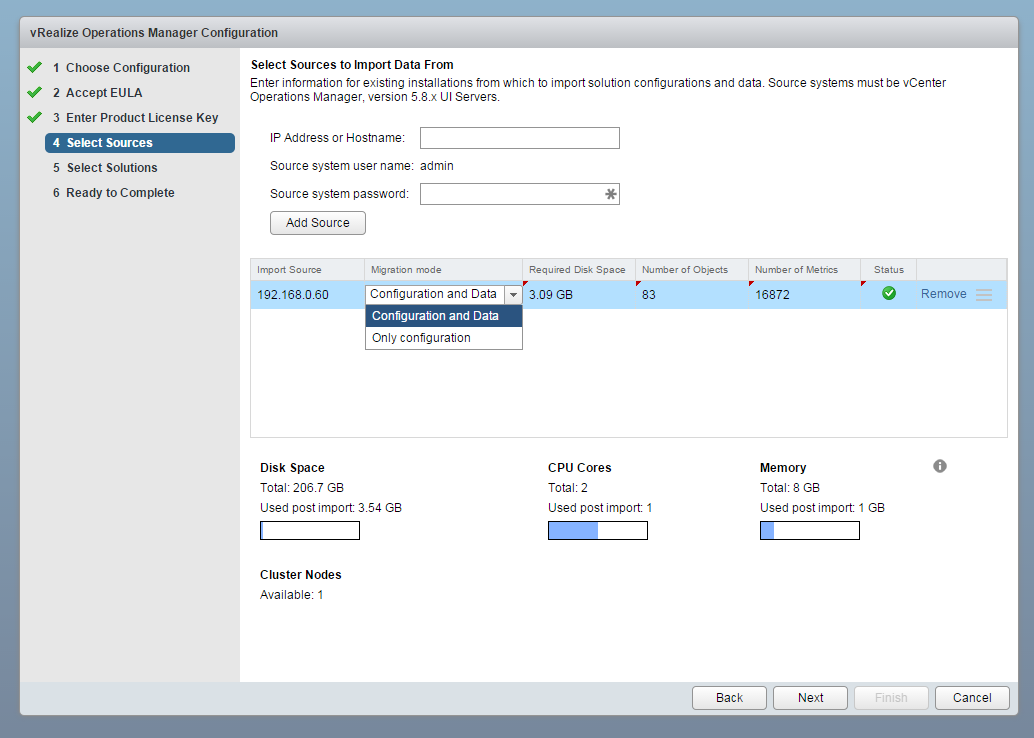
Step 17 - You can add other sources and choose to import config only or config and data
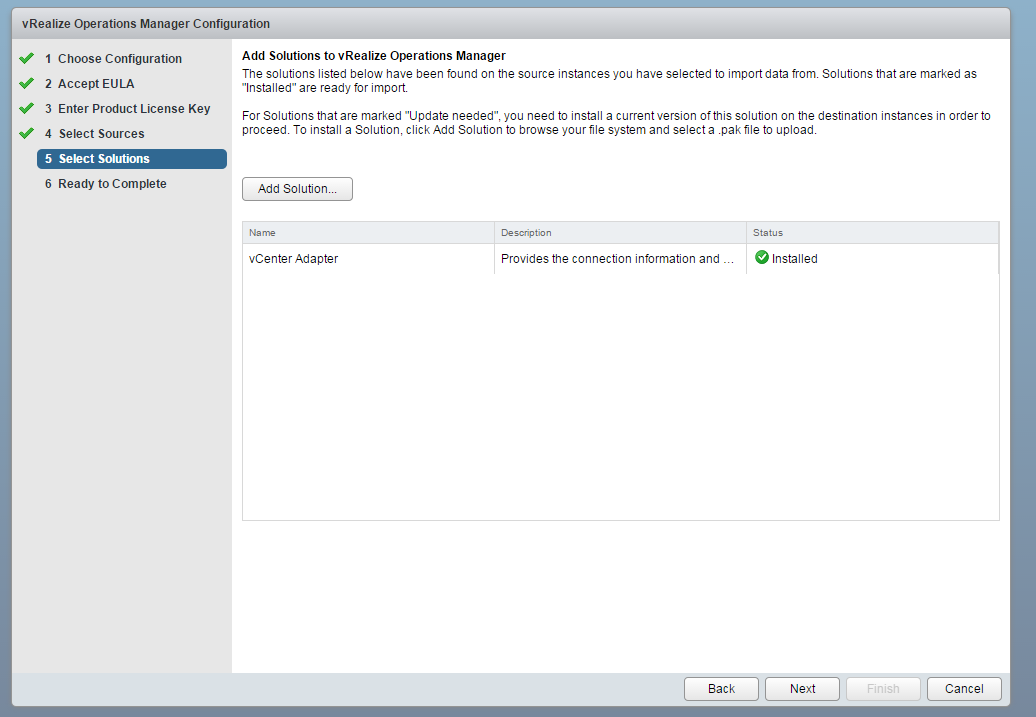
Step 18 - adding solutions (if you have existing management packs etc)
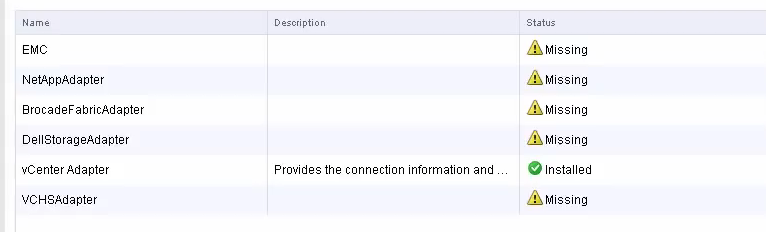
Step 18b - examples of other sources you may have
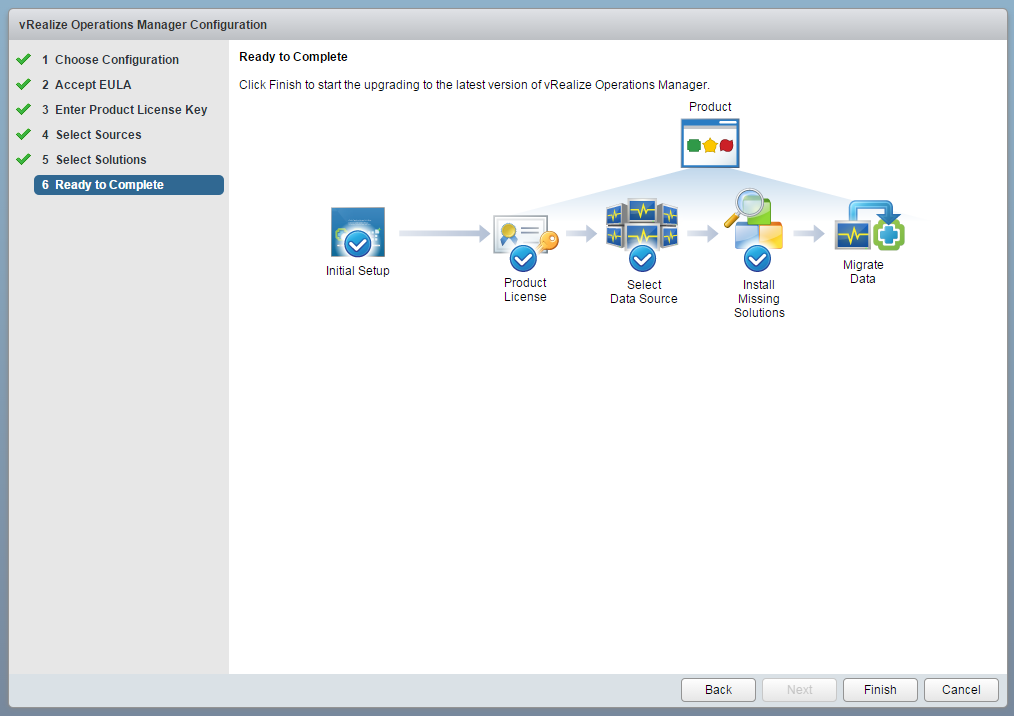
Step 19 - Ready to go!
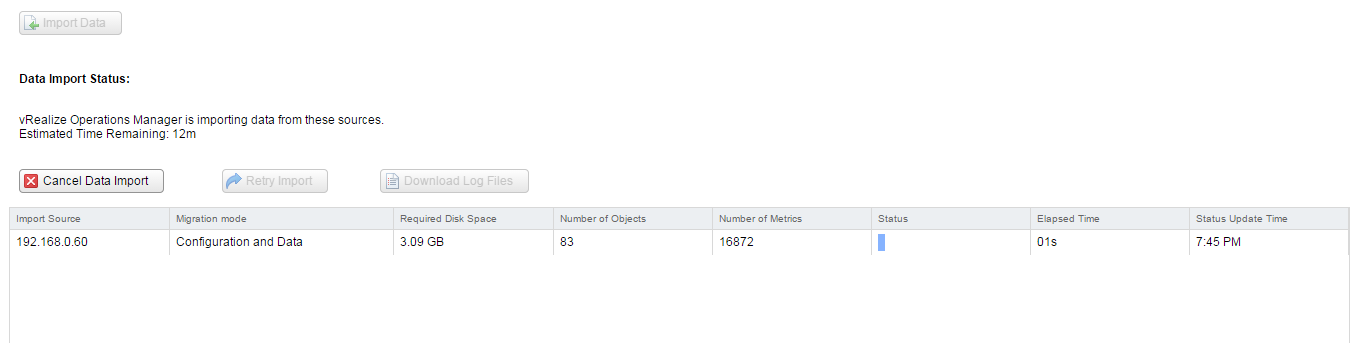
Step 20 - data importing
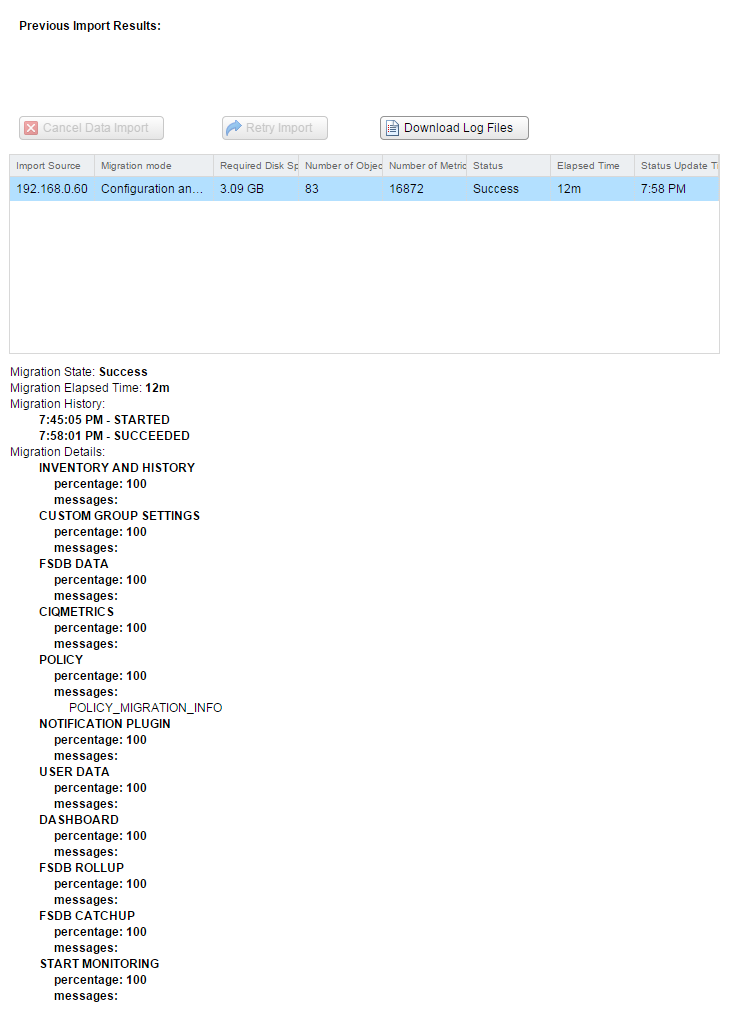
Step 21 - All done and successful
So as you can see there are many steps but they are well thought out and will take into account your existing vCOPs deployments.
There is also a superb video available from VMware on how to important old data - How to migrate your vCOPs
In the next post I will have a look at what’s new in the UI!