

Now 6 has been GA a while and I have a little bit of time, I have begun the lab upgrade process. You can see a bit more about my lab hardware over on my lab page.
Upgrading the vCenter Server Appliance#
Download and mount the VMware-VCSA-all-6.0.0-2562643 ISO image (mounted as G:\ on my workstation).
Browse the ISO and run the Client Integration Plugin “G:\vcsa\VMware-ClientIntegrationPlugin-6.0.0.exe” - it’s a simple next, next finish sort of install.
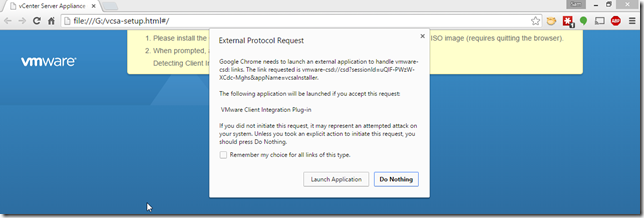
Next, open “G:\vcsa-setup.html” in your browser of choice (I’m using Chrome) and when prompted, allow the plugin to launch:
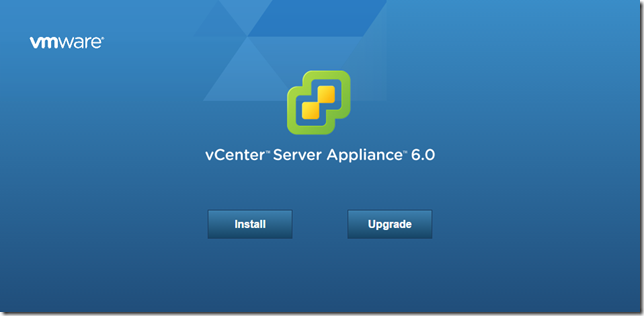
We now have the option to Install or Upgrade…click Upgrade
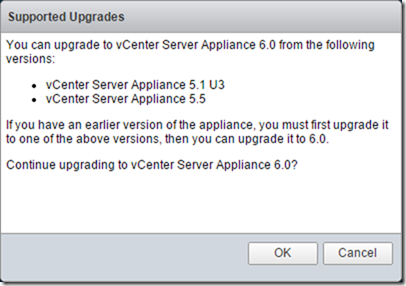
Ensure you have a supported vCSA version to upgrade:
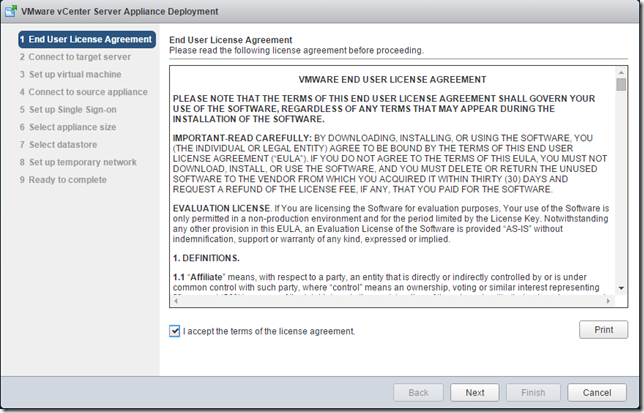
Accept the EULA and click next
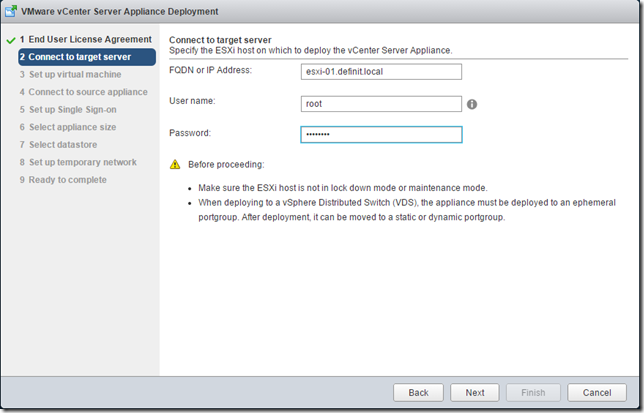
Enter the ESXi host details, and credentials - it’s worth pointing out here that you do need to have enough RAM/CPU available to deploy the vCSA appliance to the host. Check you’re not deploying to a host in maintenance mode(!) and if you’re using a vSphere Distributed Switch, there’s an ephemeral portgroup available.
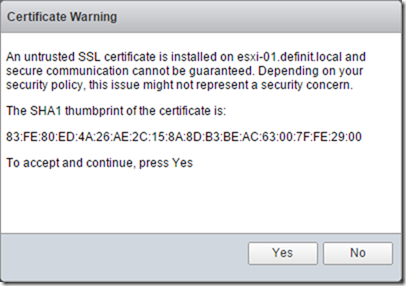
Check the certificate thumbprint matches the ESXi host’s certificate and accept the certificate warning
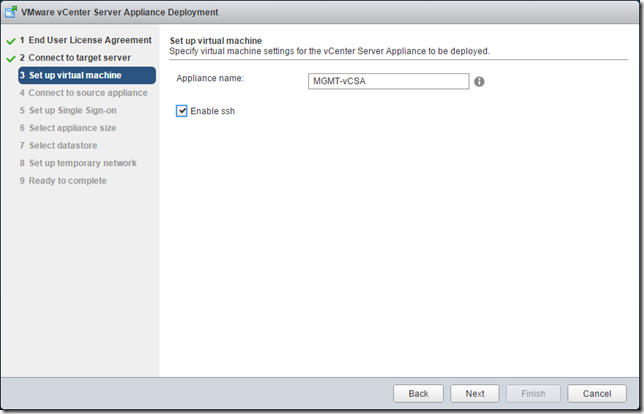
Enter a name for the vCSA, and enable SSH
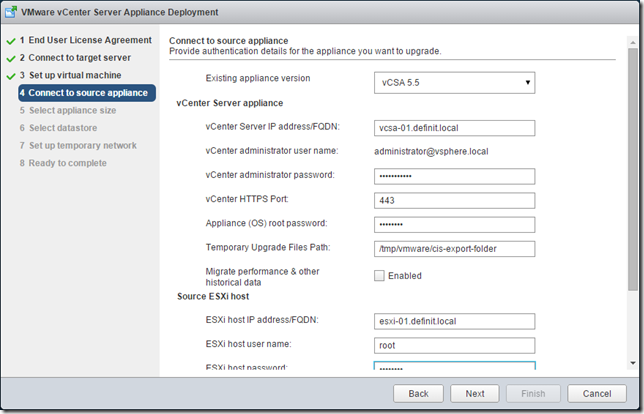
Select the correct version of the appliance you’re upgrading from, and enter the credentials for SSO and root. In my lab I’m not bothered about migrating historic performance data, but it’s a consideration for production environments. Enter the details of the source ESXi host and check that it is not in lock down or maintenance mode - and check that DRS is set to manual or disabled before upgrading - you wouldn’t want the old vCSA migrating away while you’re trying to upgrade!
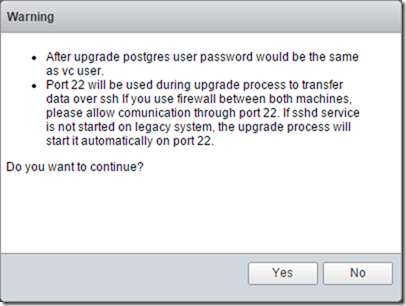
Click yes to the warning - basically it’s going to set the postgres password and open port 22 to transfer data over SSH.
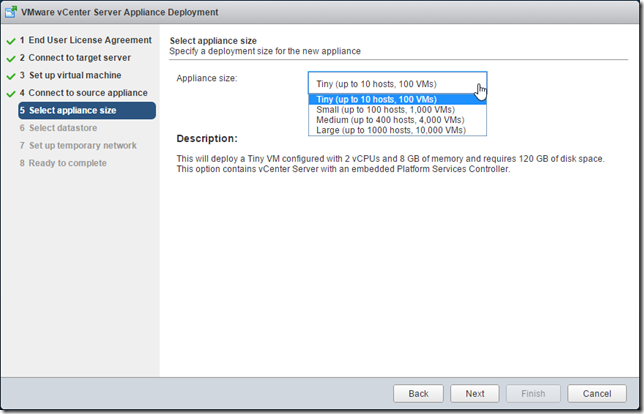
Select the appliance size - since this is my lab and it will manage 4 hosts and ~30 VMs I will go with Tiny
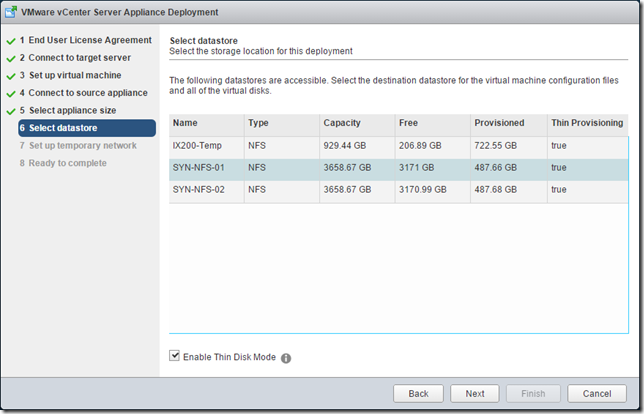
Select the datastore on which to place the vCSA and enable thin provisioning if required
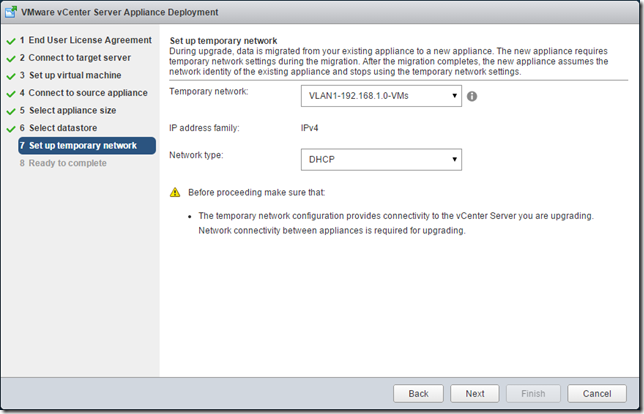
In order for the new vCSA to copy data from the old vCSA it needs to be on the network, so select a network and configure either DHCP or a static IP address. I have a DHCP server on this network, so I will use DHCP. After the upgrade is completed the new vCSA will use the same network/IP as the old one.
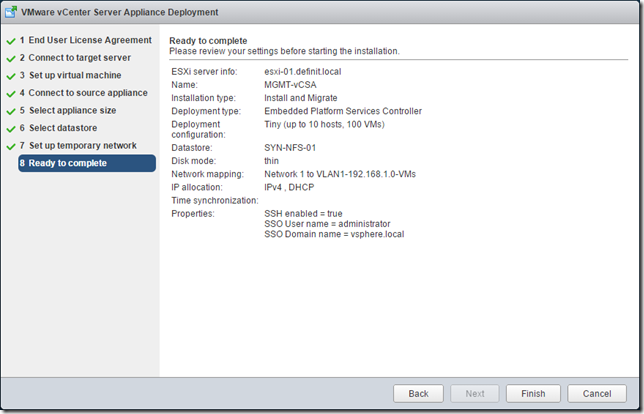
Review the summary and complete the wizard.
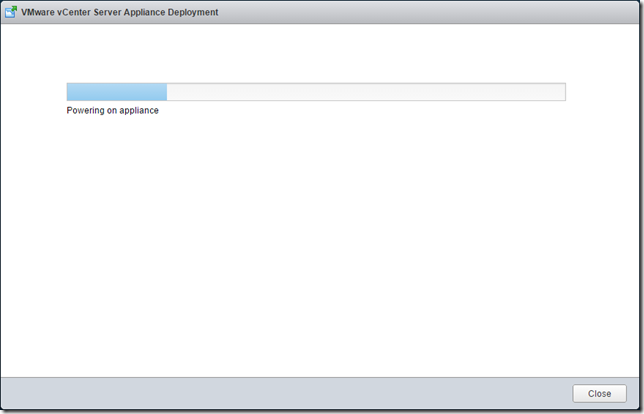
At first the deploy seemed to be going well and I could see the new appliance booting…
…however, that soon ended!
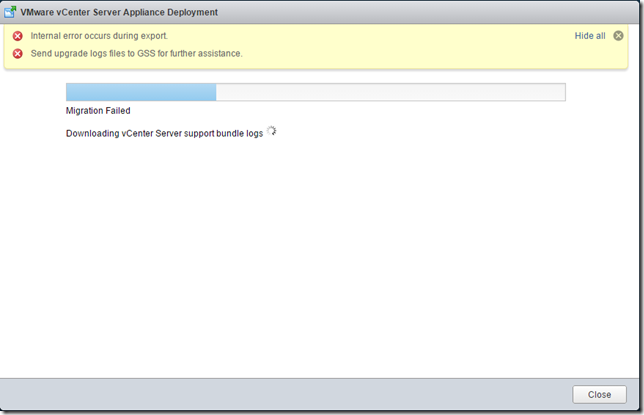
I had to manually power off and delete the deployed vCSA..
I re-ran the upgrade wizard using IP addresses rather than DNS names, which resolved the issue (my DNS server was on the same host and ran out of memory).
This time it ran through correctly, taking about 37 minutes on my resource constrained management host.
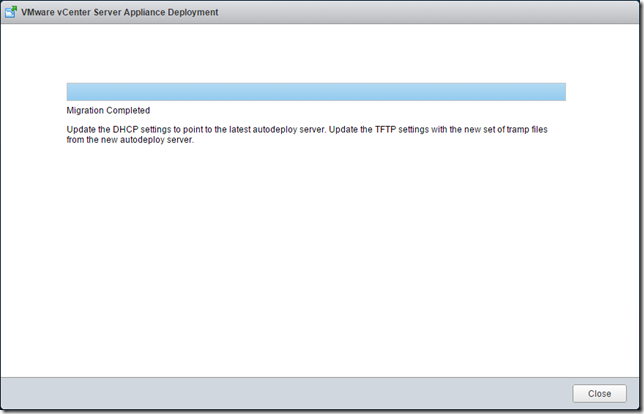
I could log straight into my vCenter, browse the inventory and manage my hosts.
Upgrading vSphere Update Manager#
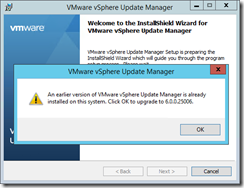
Upgrading vSphere Update Manager was simple, just mount the ISO VMware-VIMSetup-all-6.0.0-2562643 on the Update Manager Server and run the Update Manager Executable “G:\updateManager\VMware-UpdateManager.exe”
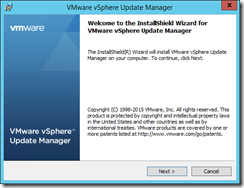
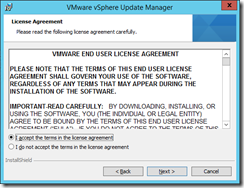
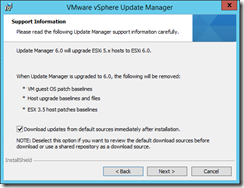
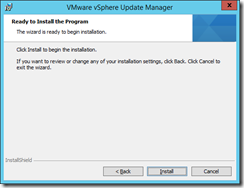
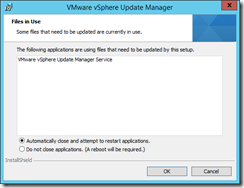
Assuming your OS and SQL server are supported, the installer detects the earlier version of VUM and offers to upgrade it. After that it’s a simple upgrade wizard with very little to write about!


It was almost there - but not quite - when I opened the Update Manager tab in the Web Client, I got the following message
There was an error connecting to the VMware vSphere Update Manager
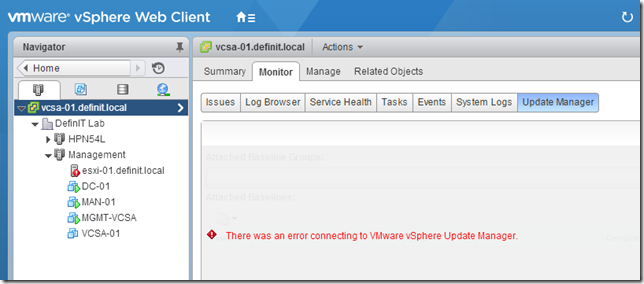
The installer had changed the service to run under LocalSystem, rather than my specified AD Service Account - once I changed the Log On account and restarted the service, it all kicked back into life.


Next up - upgrading ESXi to 6.0.