
![]()
Install IaaS Database#
There are three methods of creating the IaaS database, depending on your setup and security model you can
- Point the installer at the MSSQL server and let it create the database and populate it for you. This is the simplest option but requires the service account to have sysadmin privileges on the MSSQL instance. These can be pared back after install though; this is my preferred option and the one I’ll cover in this article.
- Create an empty database using scripts provided, then use the installer to populate it for you. This is relatively simple and normally works for environments where database administrators are responsible for a shared MSSQL cluster and don’t want to delegate control. The service account needs dbo permissions on the created database for this option.
- Create and populate the database using the scripts provided. This option is for database admins who want full control and want to verify the configuration before it’s deployed. The service account still needs dbo permissions to run, but the installer does not do any of the configuration.
Create the database#
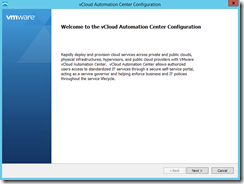
Log onto the first IaaS server as your service account and run the IaaS installer file that we downloaded to c:\vRA in the pre-requisites.
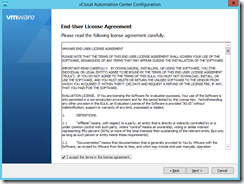
Click Next, accept the EULA and click Next.
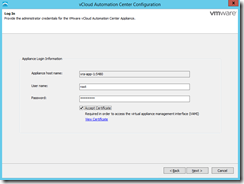
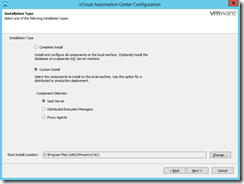
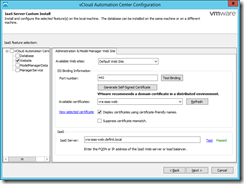
Enter the root credentials for the vRealize Appliance and accept the certificate, then click Next. Select the Custom Install option and select IaaS Server. Change the install location if required and click Next
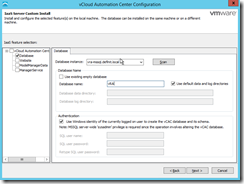
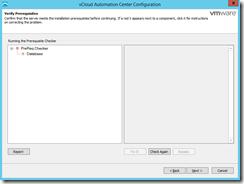
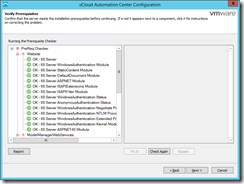
Tick the Database option and configure the database server and database name. Everything else can stay as default. Click Next and ensure that nothing fails the prerequisites. Click Next
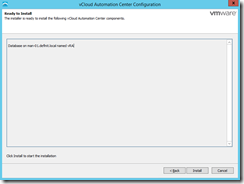
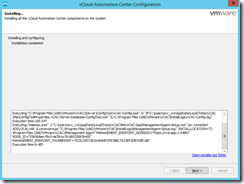
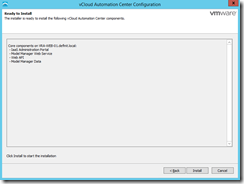
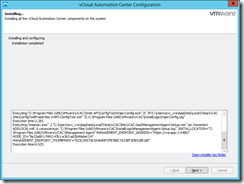
Review the summary, then click Install. Once the install is complete, click Next, then finish the wizard.
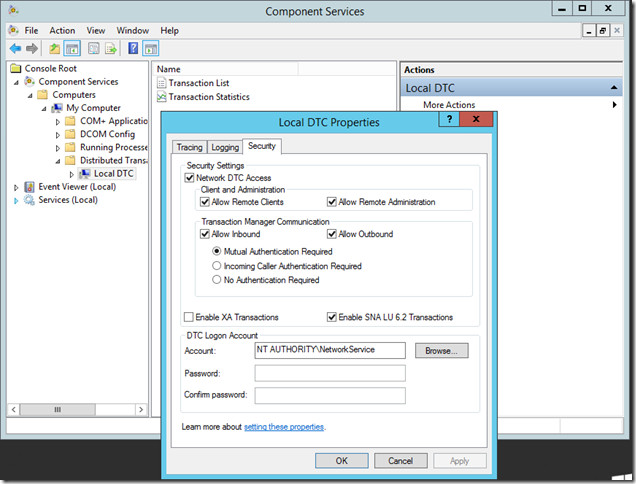
Configure MSDTC#
MSDTC needs to be configured on the SQL server as well as the IaaS Web/Manager servers (where the pre-requisite script handily configures it for you). I will be publishing an article on MSSQL and MSDTC clustering for vRealize Automation soon, this covers the basic configuration of MSDTC in a stand-alone SQL box.
Open Component Services, expand Computers, My Computer, Distributed Transaction Coordinator, then right click Local DTC and select Properties. Select the Security tab and configure the settings as below:
Install the primary Web Server#
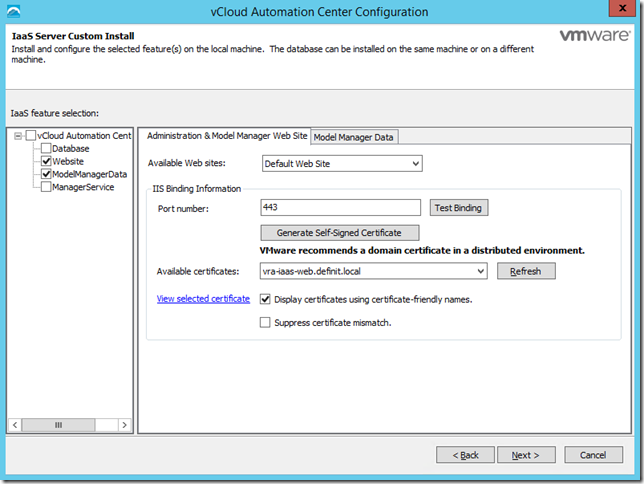
Run the IaaS installer again and this time select the Website and ModelManagerData options.
On the “Administration & Model Manager Web Site” tab you can normally accept the defaults for everything except the certificate, which should be the one you generated and imported earlier. If you can’t see your certificate, try unchecking the “Display Certificates using certificate-friendly names.” or adding a friendly name using mmc.exe, then clicking Refresh.
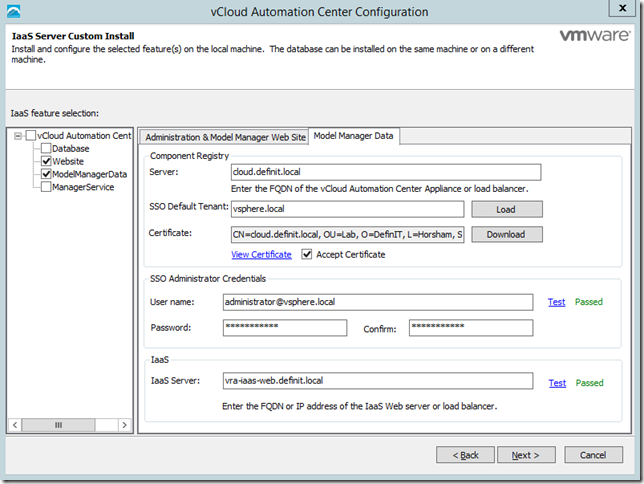
Under the Model Manager Data tab, configure the load balanced URL for the vRealize Appliances, then load the default tenant and download the certificate. Check it’s correct, then tick the Accept Certificate box. Enter your SSO administrator credentials and test them. Finally, enter the load balanced URL for the IaaS Web Server.
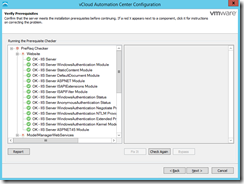
Ensure the pre-requisites check out OK and click Next
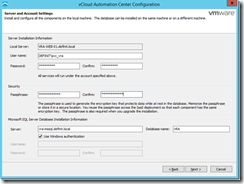
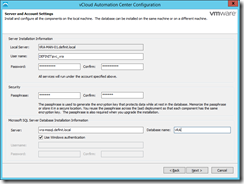
Enter the credentials for the service account to run the vRealize services. Create an encryption passphrase to protect the data at rest (in the database). Use 8 or more alphanumeric characters, but avoid special characters which can cause problems during the installation. Configure the MSSQL database server and name.
Install the secondary Web Server#
Before doing this step, log onto your load balancer and ensure that the Web service is up and running:

Log onto the secondary web server as the service account and run the IaaS installer as before, this time though we are only installing the Website component. Everything else is configured as the first web server.


Install the active Manager server#
Before doing this step, log onto your load balancer and ensure that the Web service is up and running:

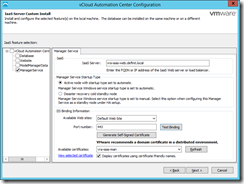
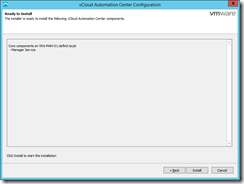
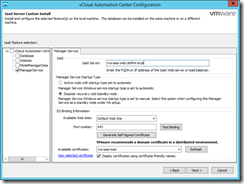
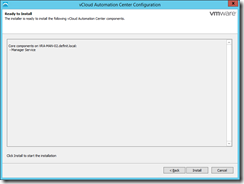
Log onto the active Manager server using the service account and run the IaaS installer. Run through until you get to the custom IaaS server install and select “ManagerService”. Enter the FQDN of the IaaS Web server load balancer and ensure the “Active node” option is selected. Select the Iaas Manager certificate and test that nothing is using the 443 binding. Click next.
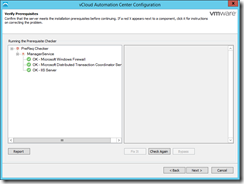
The prerequisite checker will run - ensure that any problems detected are resolved, then click Next.
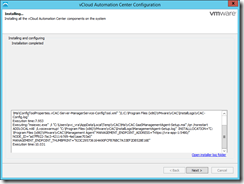
Enter the service account credentials, the Security Passphrase used during the Web service installation and the database server details. Click Next, then click Install.
Once the install is completed, click Next, untick the “Guide me..” box and click Finish.

Install the passive Manager server#
Before doing this step, log onto your load balancer and ensure that the Web and Manager services are up and running:

Log onto the active Manager server using the service account and run the IaaS installer. Run through until you get to the custom IaaS server install and select “ManagerService”. Enter the FQDN of the IaaS Web server load balancer and ensure the “Disaster recovery cold standby node” option is selected. Select the Iaas Manager certificate and test that nothing is using the 443 binding. Click next.
The prerequisite checker will run - ensure that any problems detected are resolved, then click Next.

Enter the service account credentials, the Security Passphrase used during the Web service installation and the database server details. Click Next, then click Install.

Once the install is completed, click Next, untick the “Guide me..” box and click Finish.
Open Services.msc and check that the “VMware vCloud Automation Center Service” is not running, and is set to Manual:
