Disclaimer! I am learning NSX-T, part of my learning is to deploy in my lab - if I contradict the official docs then go with the docs!
Lab Environment#
This NSX-T lab environment is built as a nested lab on my physical hosts. There are four physical ESXi hosts, onto which I will deploy three ESXi VMs, a vCenter Server Appliance, NSX Manager, an NSX Controller cluster, and two NSX Edge Nodes.

Physical, virtual and nested components of the NSX-T lab
Deployment Plan#
I will follow the deployment plan from the NSX-T 2.0 documentation:
- Install NSX Manager.
- Install NSX Controllers.
- Join NSX Controllers with the management plane.
- Initialize the control cluster to create a master controller.
- Join NSX Controllers into a control cluster.
- Join hypervisor hosts with the management plane.
- Install NSX Edges.
- Join NSX Edges with the management plane.
- Create transport zones and transport nodes.
When this post series is complete, the network topology should be something like this, with two hostswitches configured. The ESXi Hosts will have a Tunnel Endpoint IP address, as will the Edge. The Edge will also have an interface configured for a VLAN uplink.
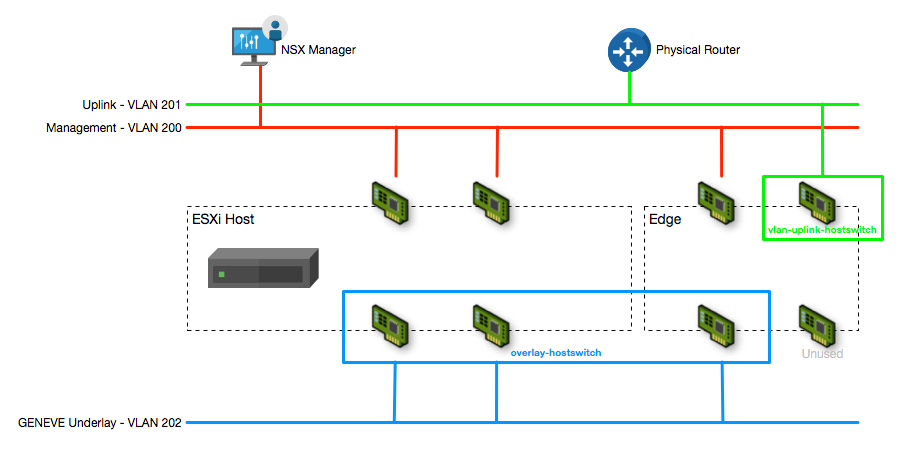
The NSX-T Transport Node network configuration
In this post I will walk through deploying and configuring the NSX Manager.
Deploying NSX Manager OVA#
Deploying the NSX Manager OVA is a fairly standard affair, though I did find that once deployed some of the OVF settings had not applied and the needed re-adding by editing the VM Settings in vSphere.
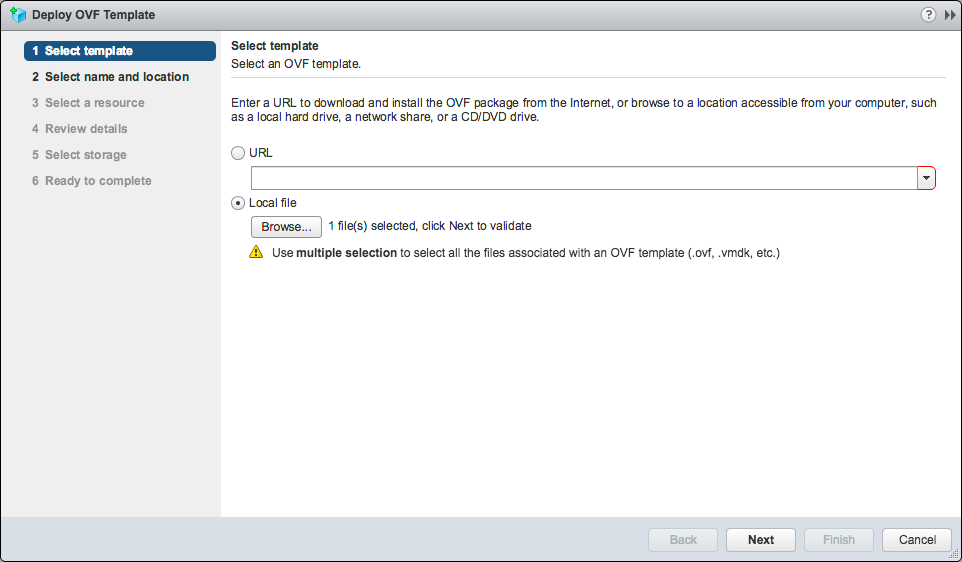
- Run the Deploy OVF Template wizard and select the NSX-T Manager OVA (nsx-unified-appliance-2.0.0.0.0.6522097.ova)
- Enter the name for the NSX-T Manager appliance (pod-200-nsx-t)
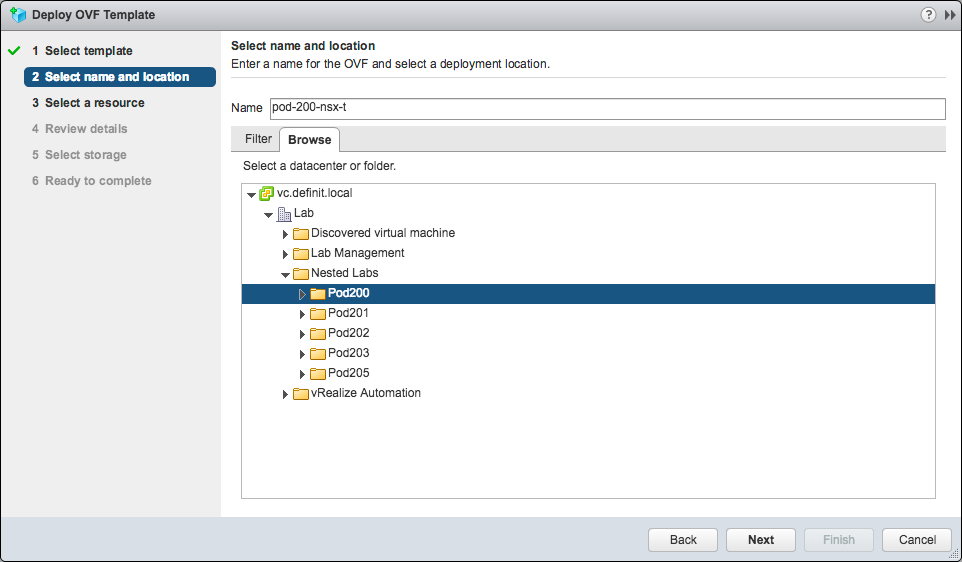
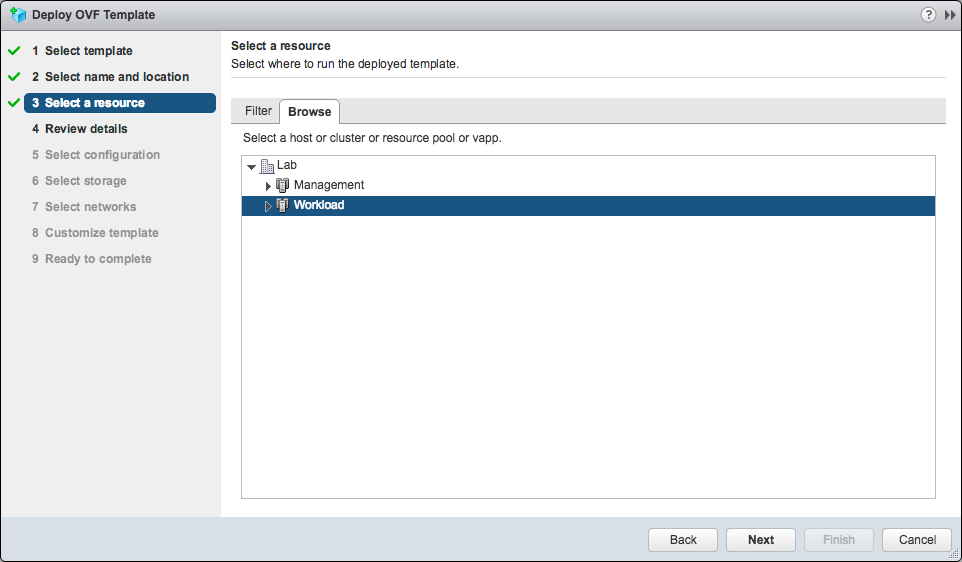
- Select the target cluster or host
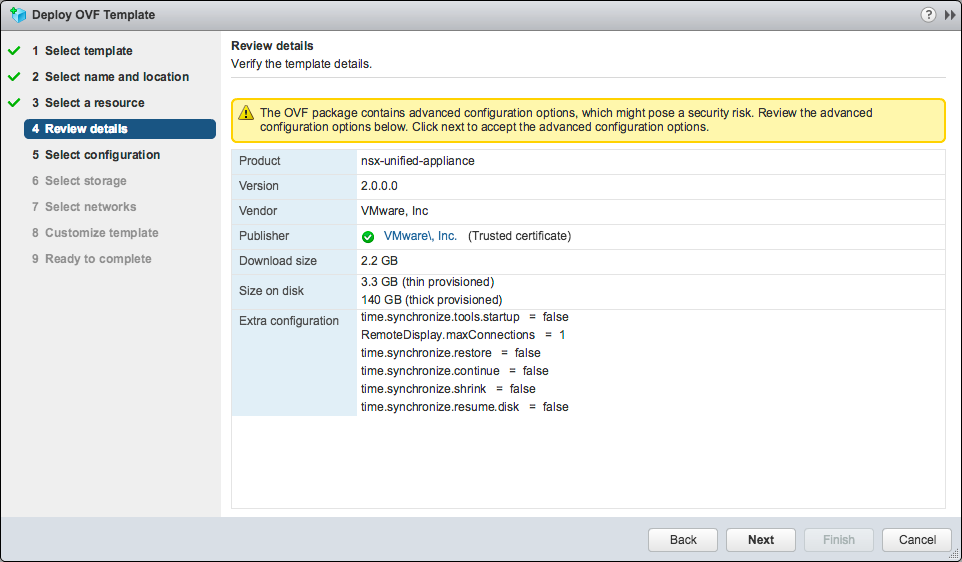
- Review the additional settings required for the OVF package
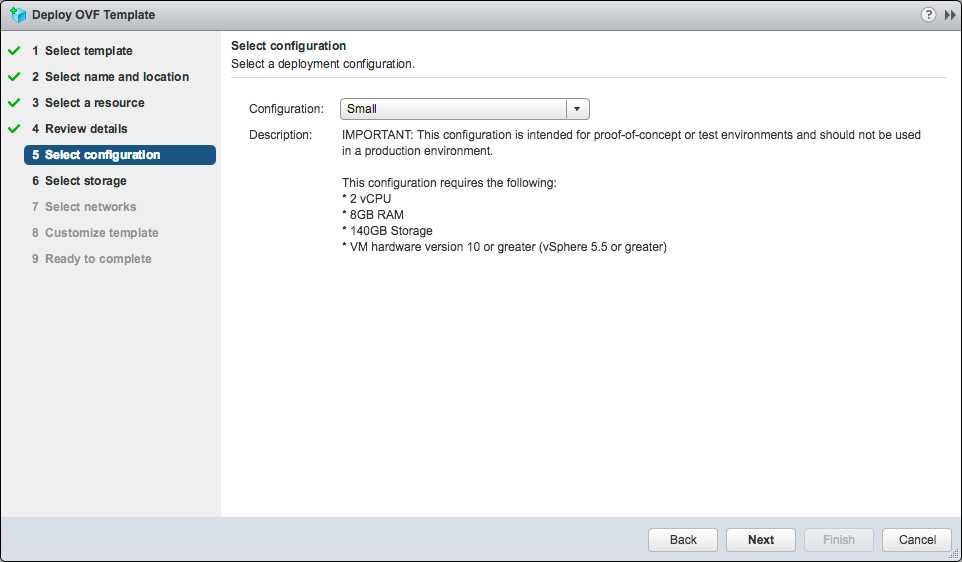
- Select the size of deployment (based on the intended environment type and size)
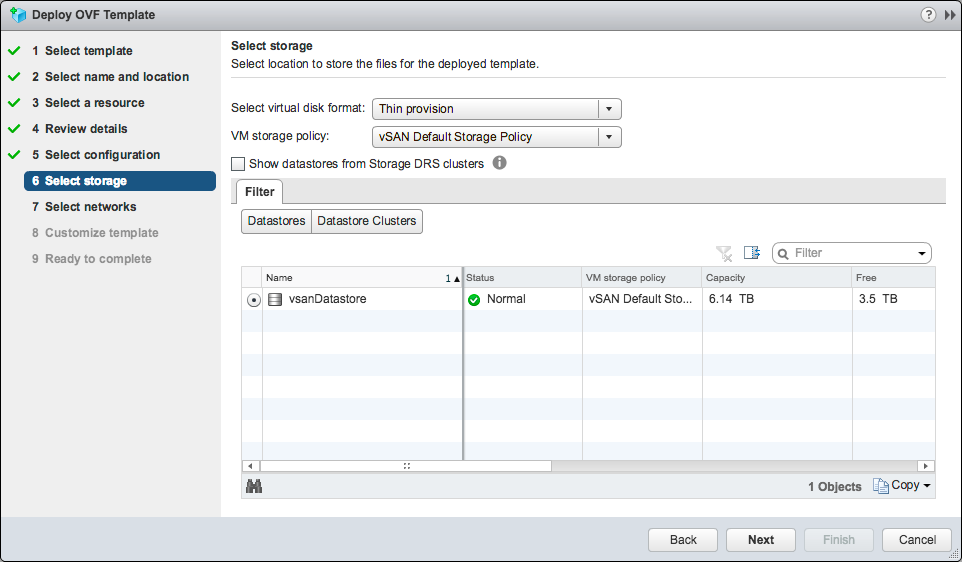
- Select the datastore on which to deploy the Manager
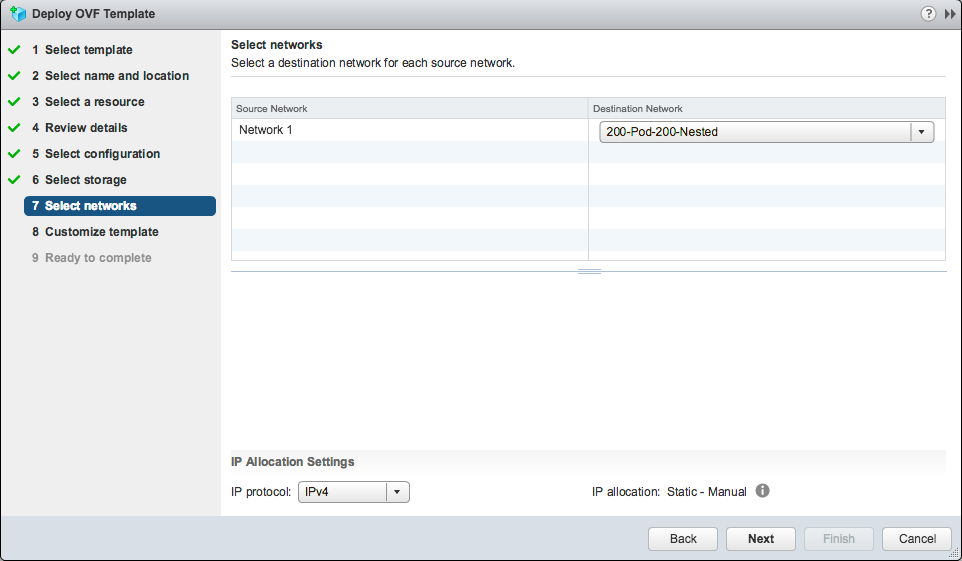
- Select the Management network for NSX-T
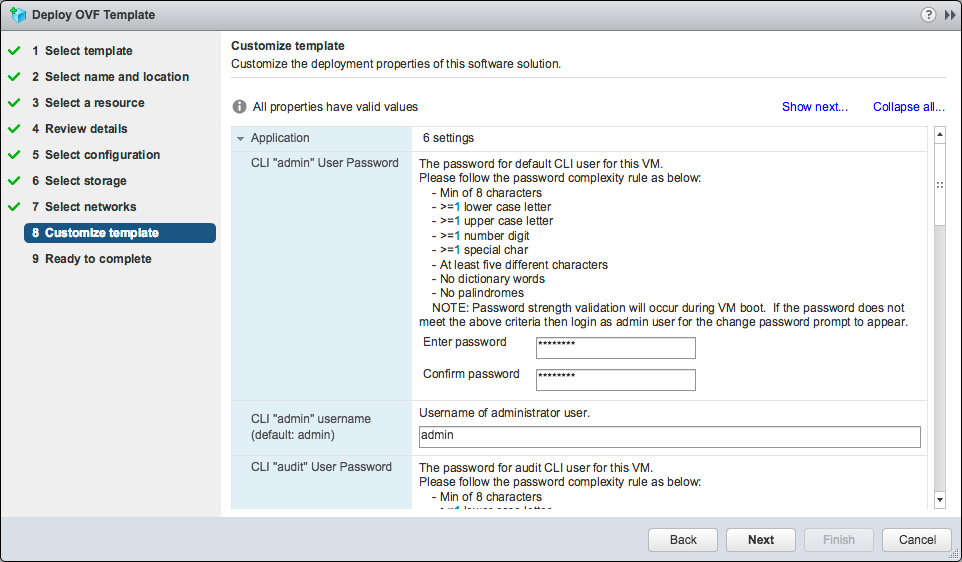
- Enter the application settings - an Admin user name and password
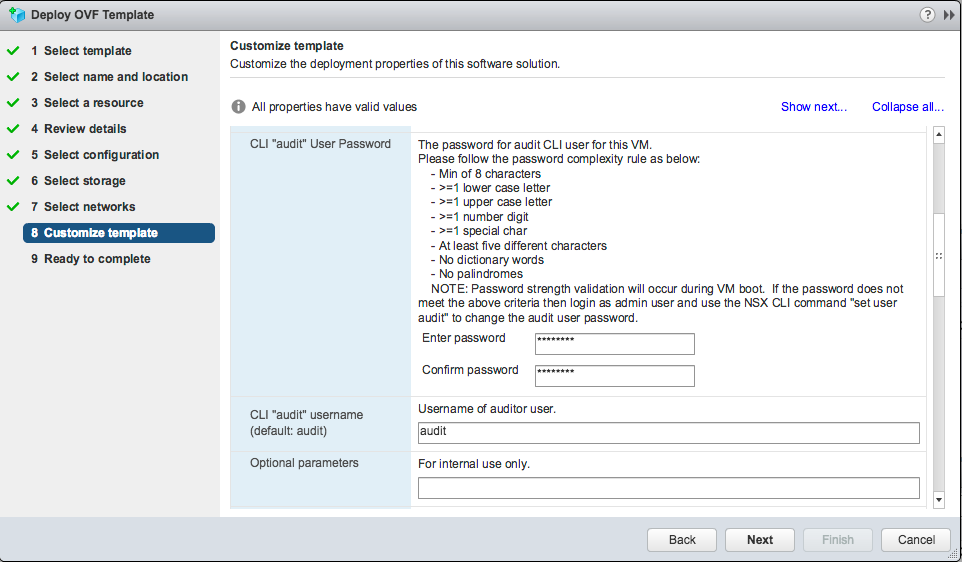
- Enter an Audit user name and password
- Enter an appliance root user password
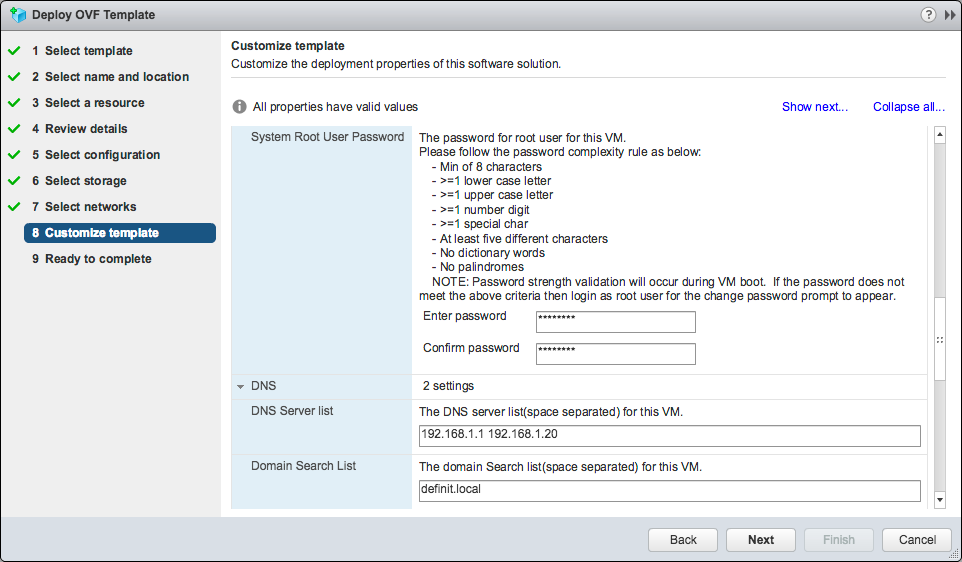
- Enter the appliance hostname and network details

- Configure the additional settings for SSH access and NTP
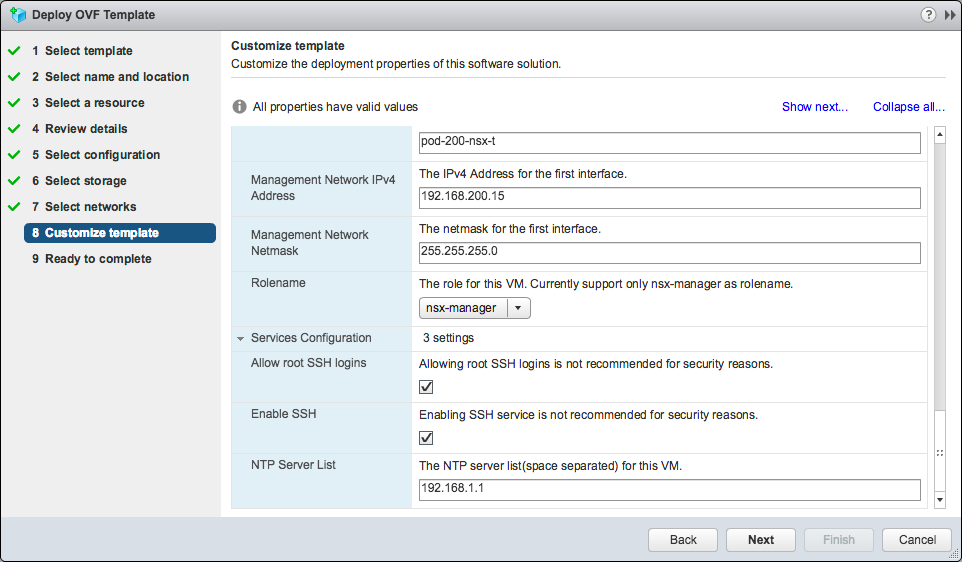
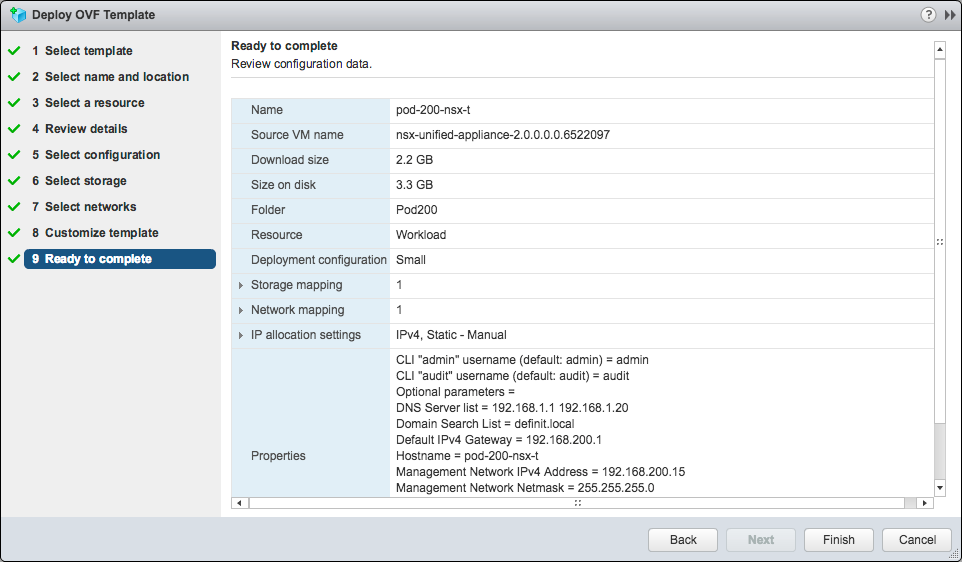
- Review the settings and finish the wizard
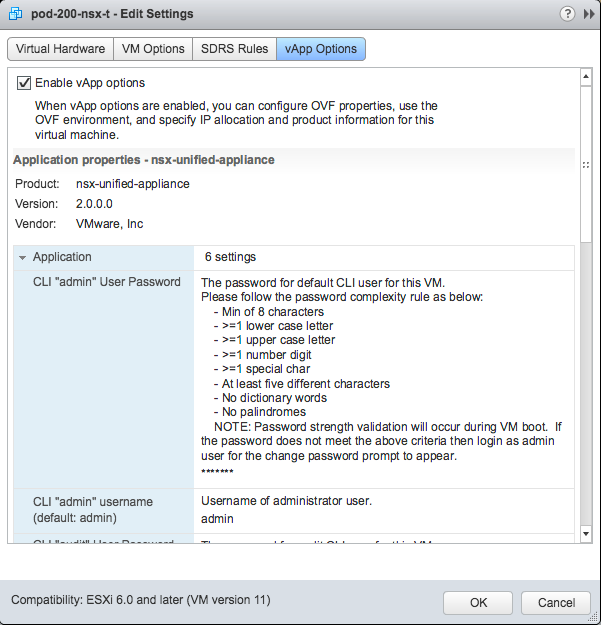
Once the appliance has deployed, power on the virtual machine. In my lab environment the OVF settings did not apply, I am not sure why. I needed to manually set the network adapter to the correct network, and edit the vApp options to set the properties before the appliance would power on.
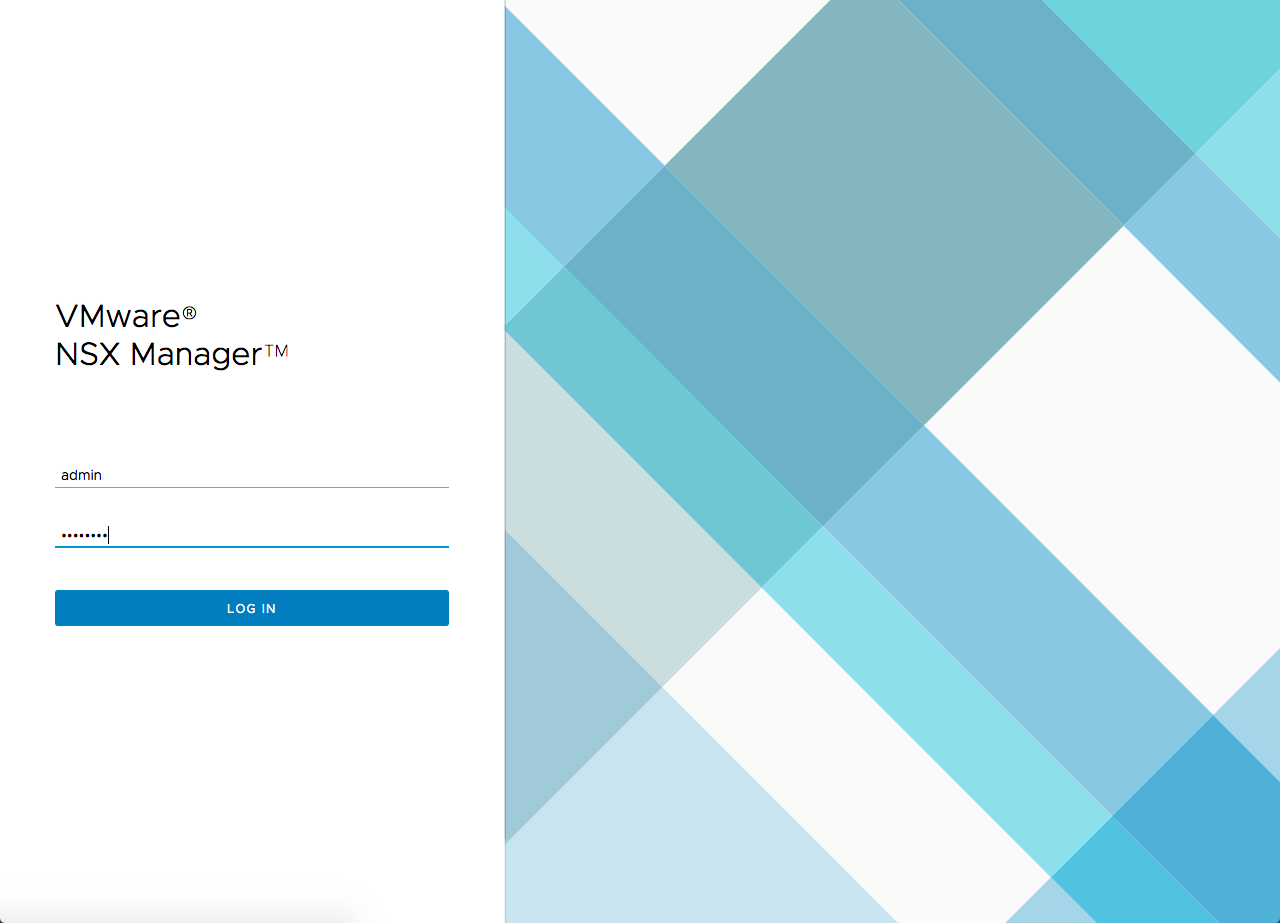
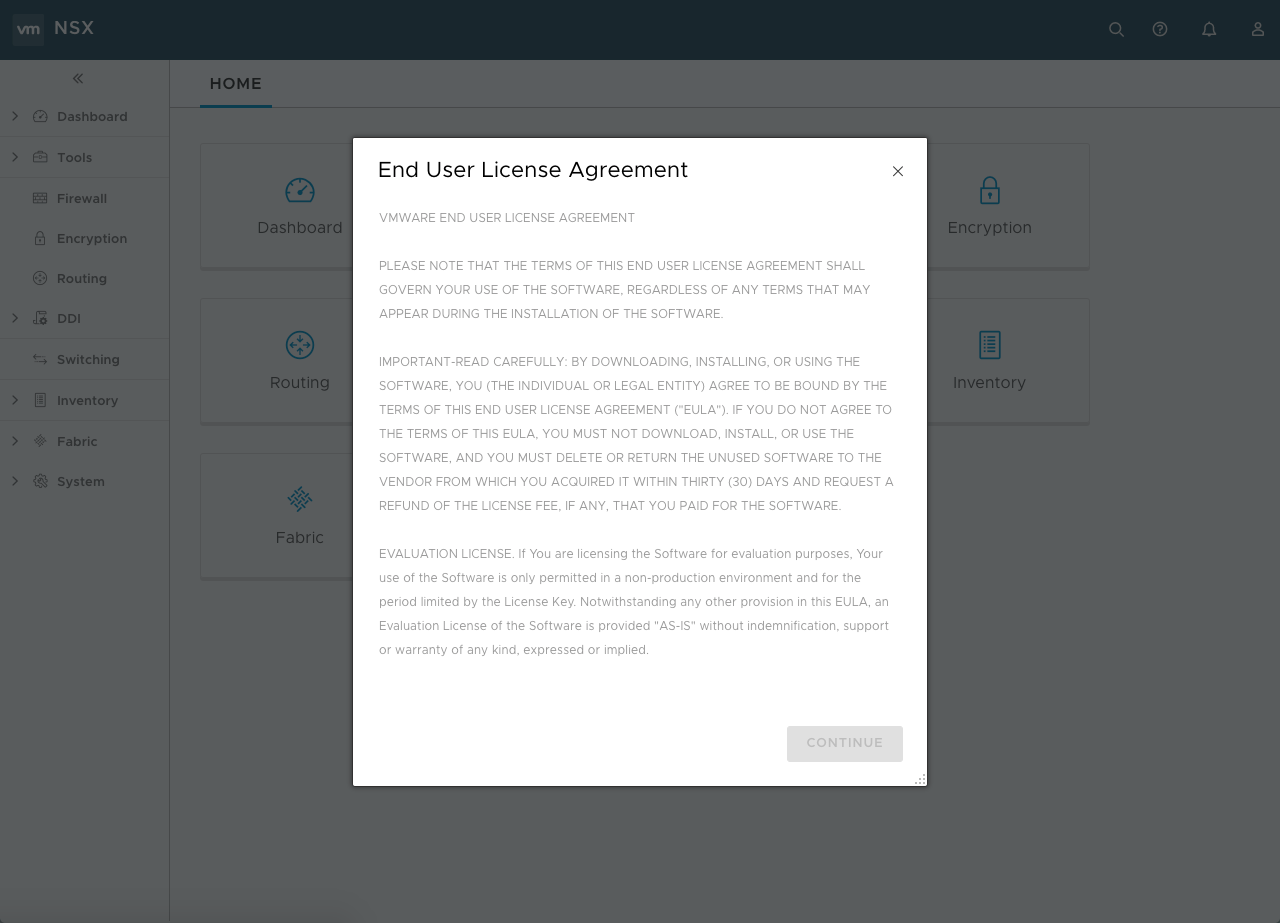
Once the appliance has booted, you can access it via HTTPS and log in with the configured admin username and password.
Read and accept the EULA (scroll all the way down to check the agree box)
Finally, the NSX Manager is deployed.
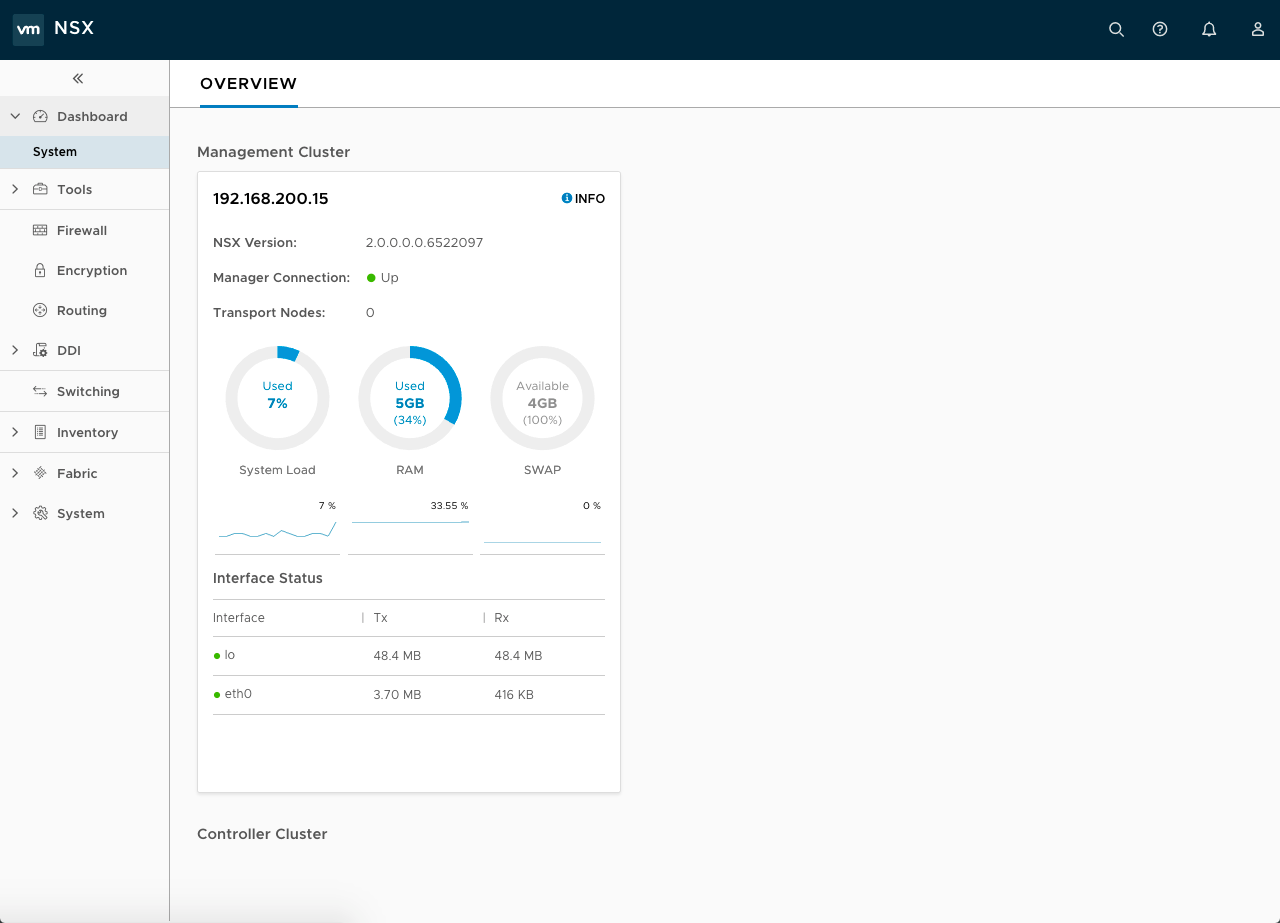
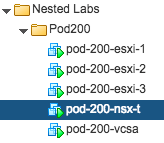
My Pod200 folder now contains 3 ESXi hosts, a vCenter Server Appliance and the NSX-T Manager